

Your wedding day is a whirlwind of emotions, laughter, and love—a day you’ll want to relive over and over again. The best way to preserve those memories is with a beautifully crafted wedding album; however, the wedding album design process can be confusing and overwhelming.
In this blog post, I’ll be sharing a step-by-step wedding album design breakdown along with tips and tricks for creating the perfect wedding album that will be treasured for years to come.
Why Wedding Albums Are Important
Before we dive in, let’s take a moment to talk about why wedding albums are so important.
While digital photos are convenient, there’s something truly special about holding a physical album in your hands.
Wedding albums serve as tangible reminders of the love and joy you felt on your wedding day, allowing you to relive those precious moments time and time again. They also make for stunning coffee table displays and heirloom keepsakes that can be passed down for generations.
Why PicTime Is Awesome For Wedding Album Design
PicTime is the gallery hosting service I use to deliver digital wedding images. I love the layout and user-friendly interface. The intuitive nature of it is particularly helpful for wedding album design because it makes the creation process seamless and enjoyable. Having the digital images and album designing in the same place just makes everything way easier as you’ll see in this step-by-step guide.
The albums themselves are of amazing quality. PicTime exclusively designed this software for wedding photography. This ensures that every wedding album option it offers prioritizes quality and preservation. There’s literally no bad option when creating with PicTime.
Start Here
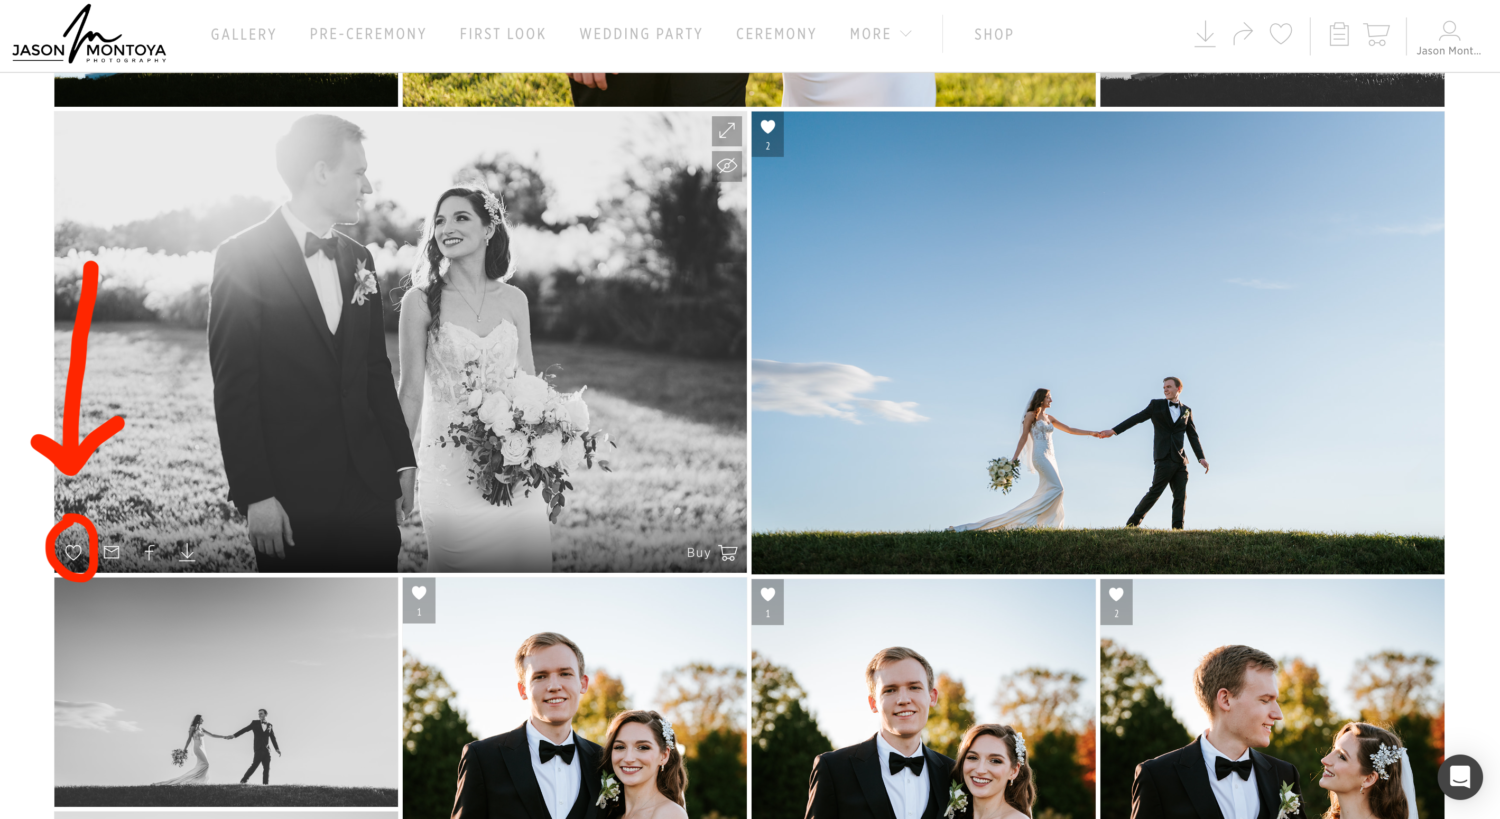
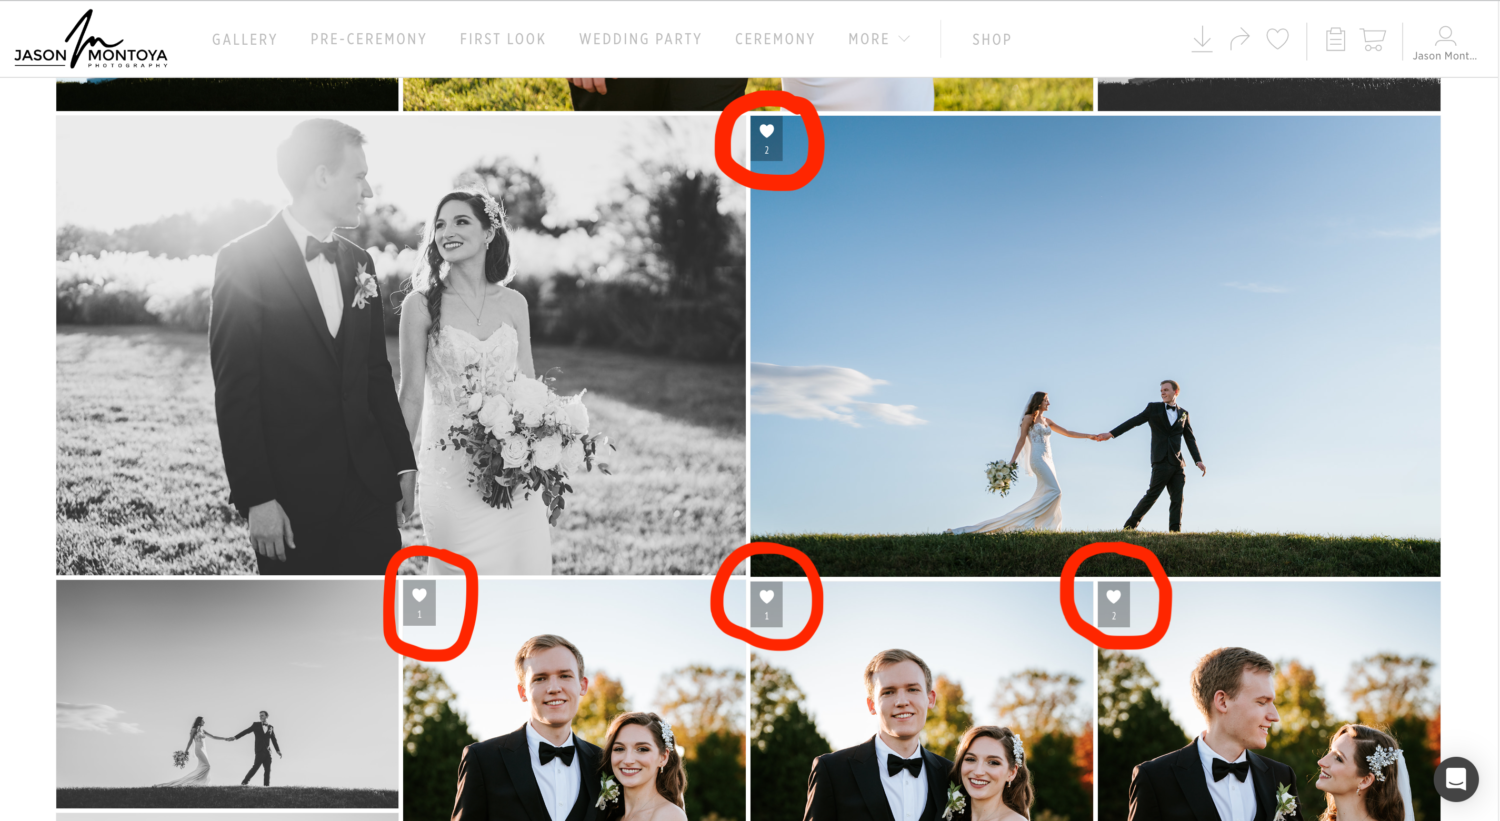
Step One: Like your favorite images using the ‘heart’ button located at the bottom of each image. Once you’ve selected the image, a heart will appear at the top left corner. Selecting favorites will give you a great starting point for your wedding album design.
- I suggest a minimum of 5 images for each section of the wedding day (i.e. 5 images from ‘GETTING READY’, 5 images from ‘CEREMONY’, 5 images from ‘FAMILY PORTRAITS’ etc). This will give you a solid amount of photo options to choose from for your wedding album design.
- Even if you don’t intend on creating an album just yet. I suggest liking your favorite images anyway as this will save you a bunch of time later on.
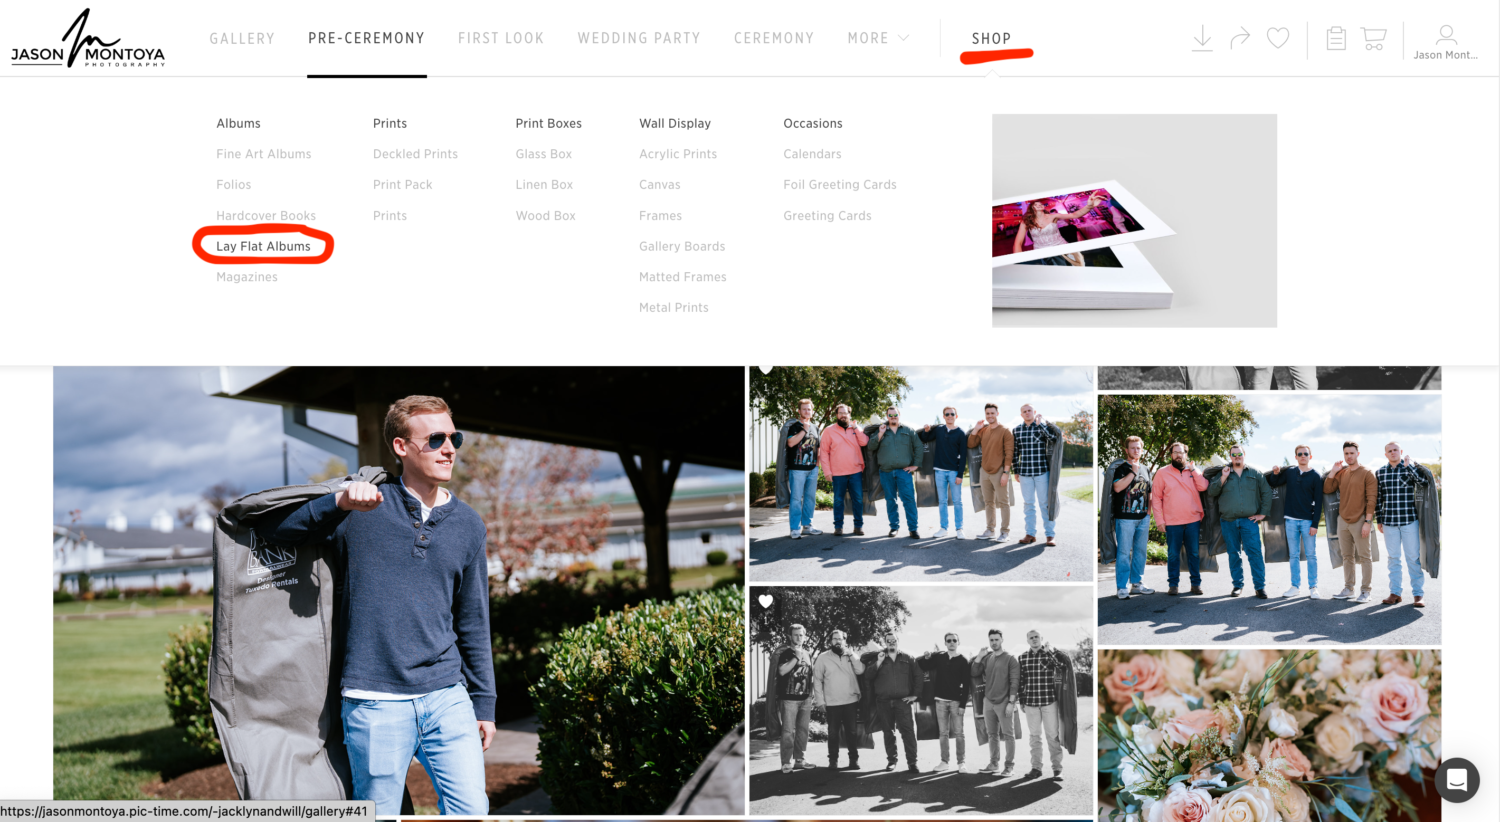
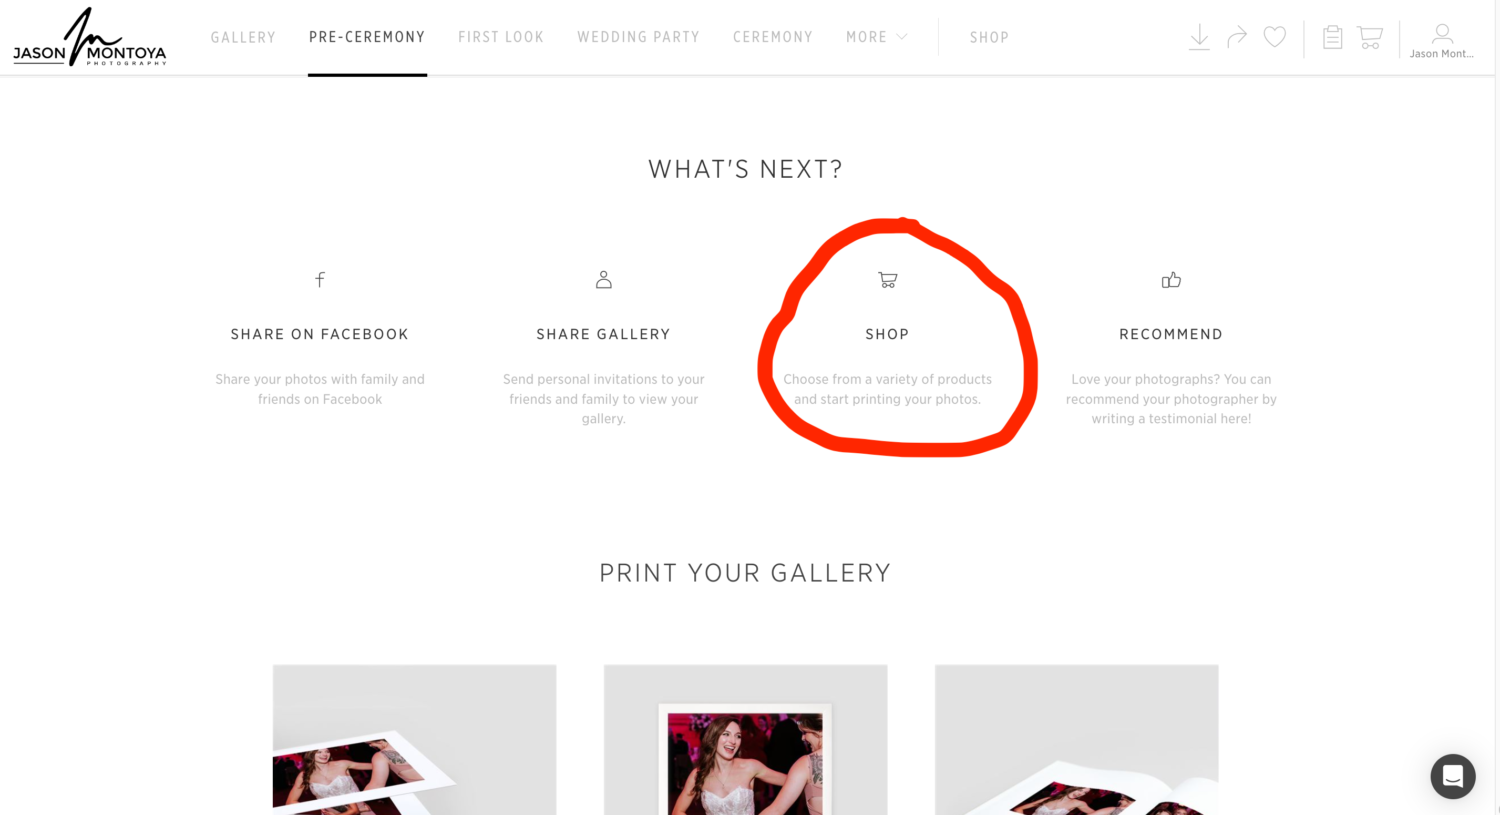
Step Two: Once you’ve selected your favorites. Hover over the ‘SHOP’ button located on the far right at the top menu and select ‘LAY FLAT ALBUMS’ or click ‘SHOP’ towards the end of the gallery then find the option for ‘LAY FLAT ALBUMS’.
- I suggest using Lay Flat Albums because they are the value king. Great quality for a great price. While you can pick other album options, they will cost a little extra.
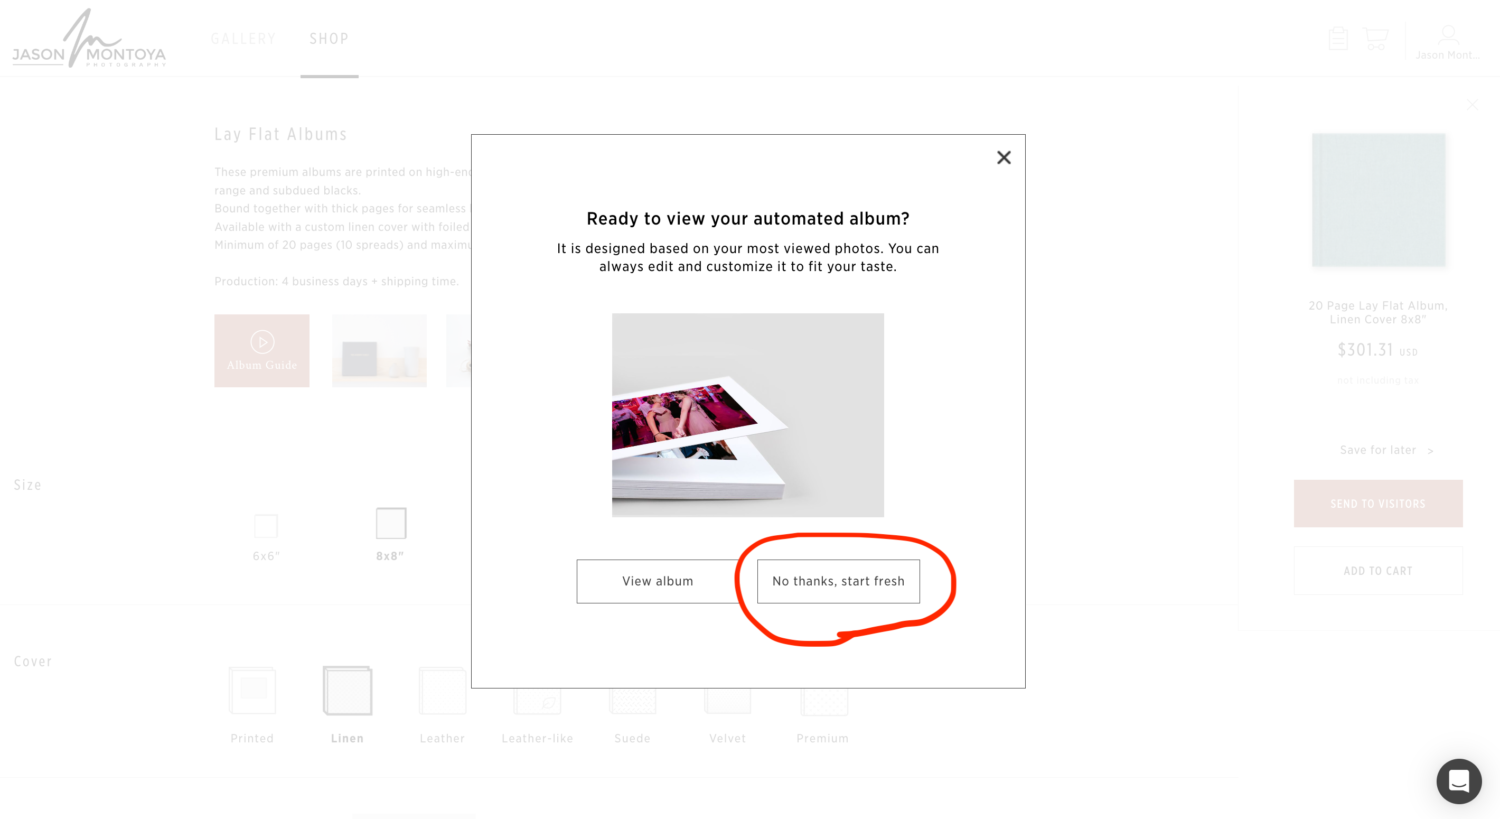
Step Three: Since you’ve selected your favorite images, you’ll be prompted to view an automated album. While this can be a great starting point, I prefer to start with a fresh design so the rest of the tutorial will lean toward this option. However, feel free to play around with whatever works best for you.
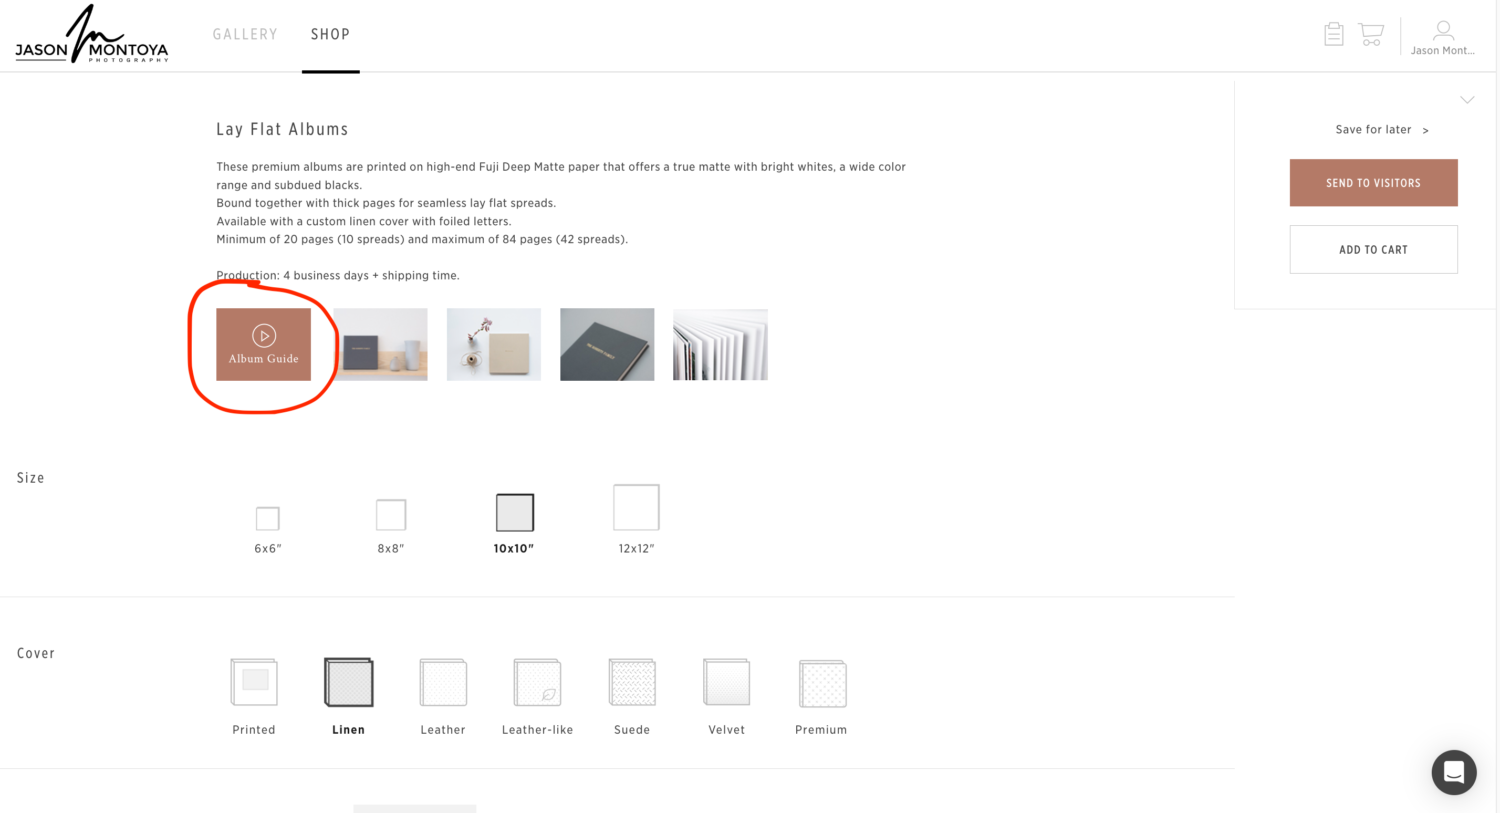
Step Four: Before initiating the design process, I highly recommend watching the Album Guide video provided by PicTime. This will give you a comprehensive overview of the different buttons and functionality within the software to help you create your album. The remainder of this step-by-step guide will be focused on my advice for creating the album along with some template ideas.
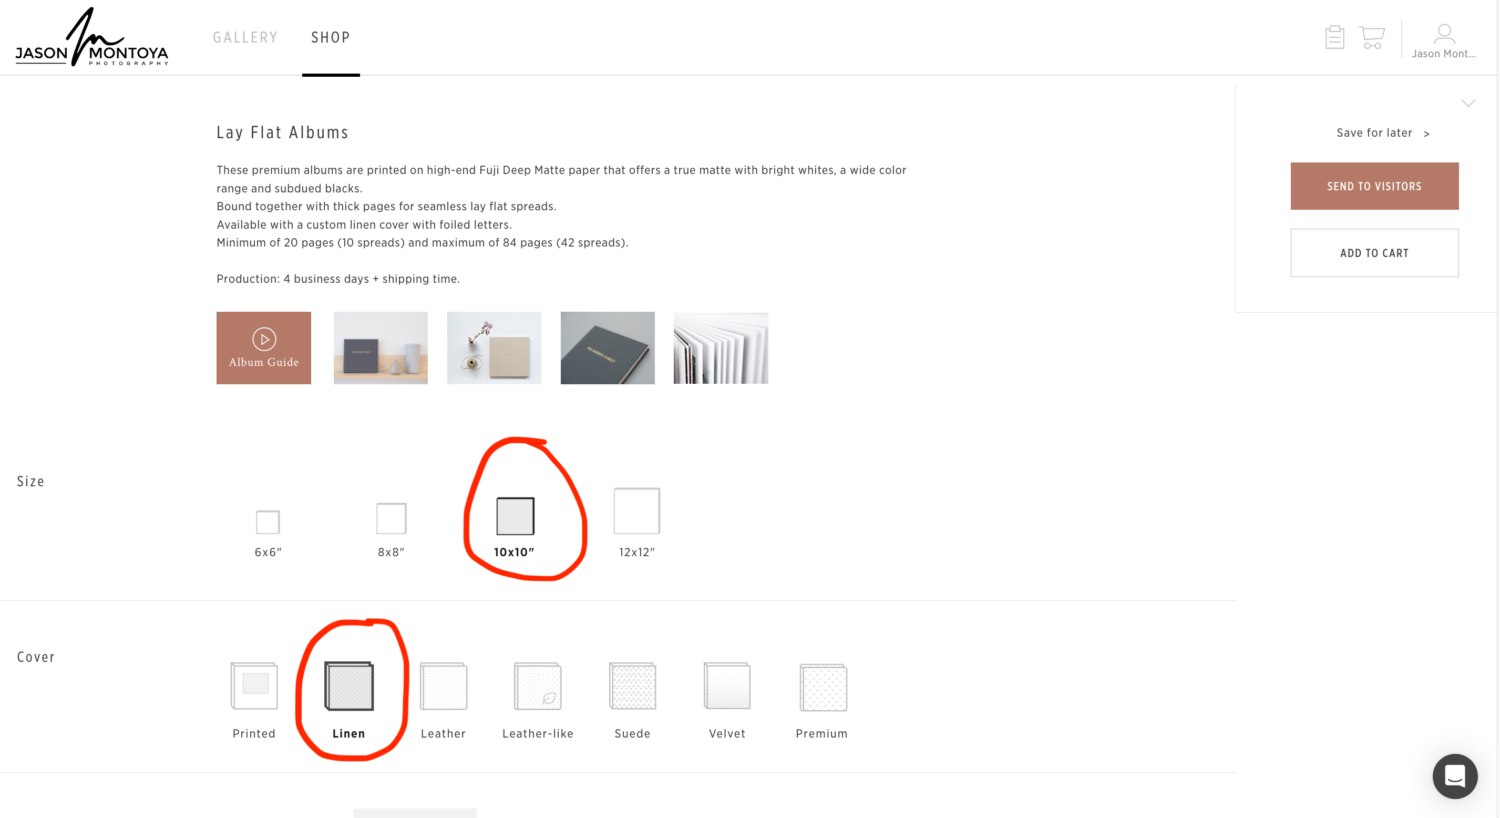
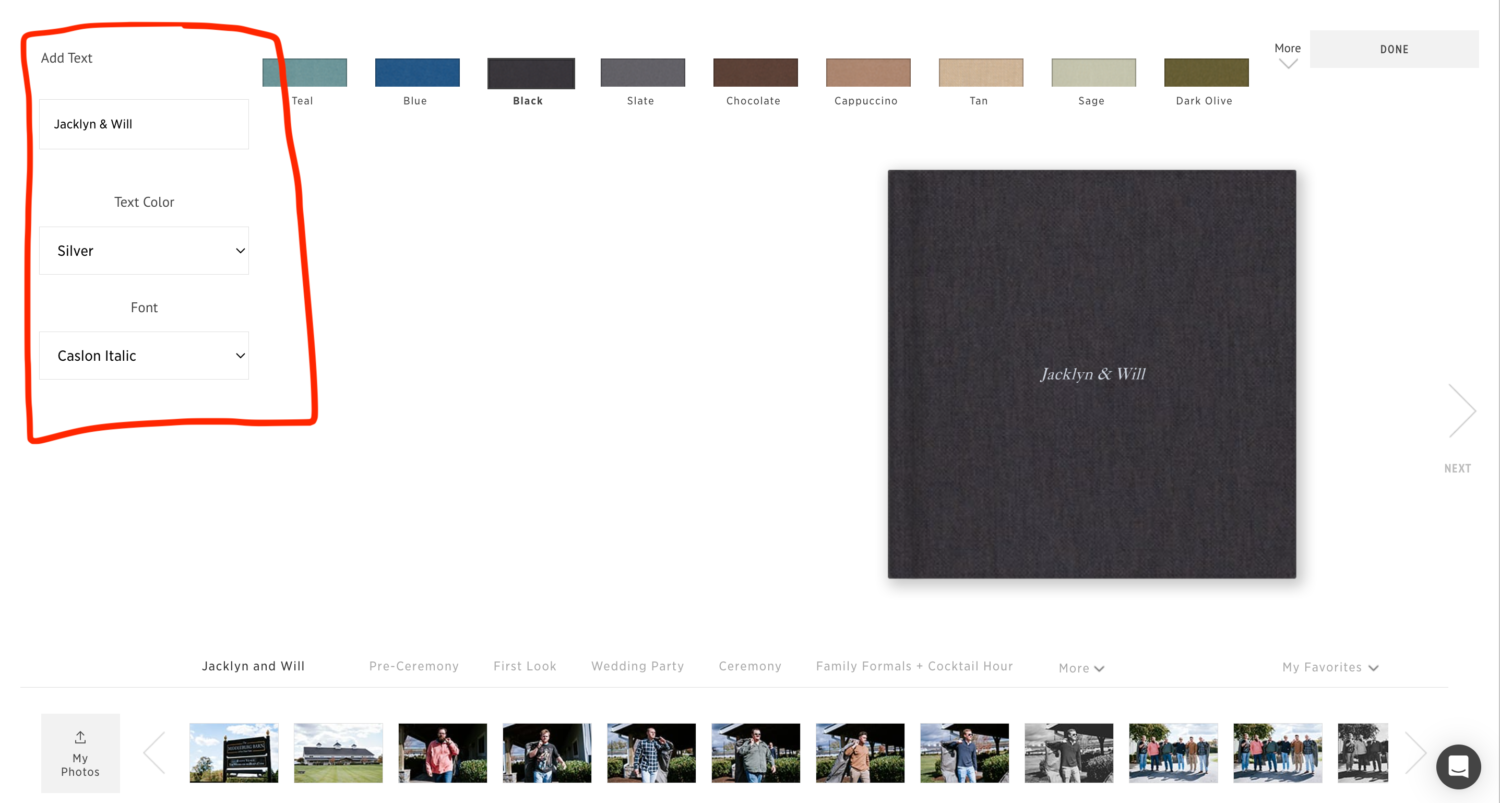
Step Five: Time to pick the dimensions of the book. There are a lot of options here and you can customize to your liking. I personally like recommending a 10×10” Linen album because it is the value champ.
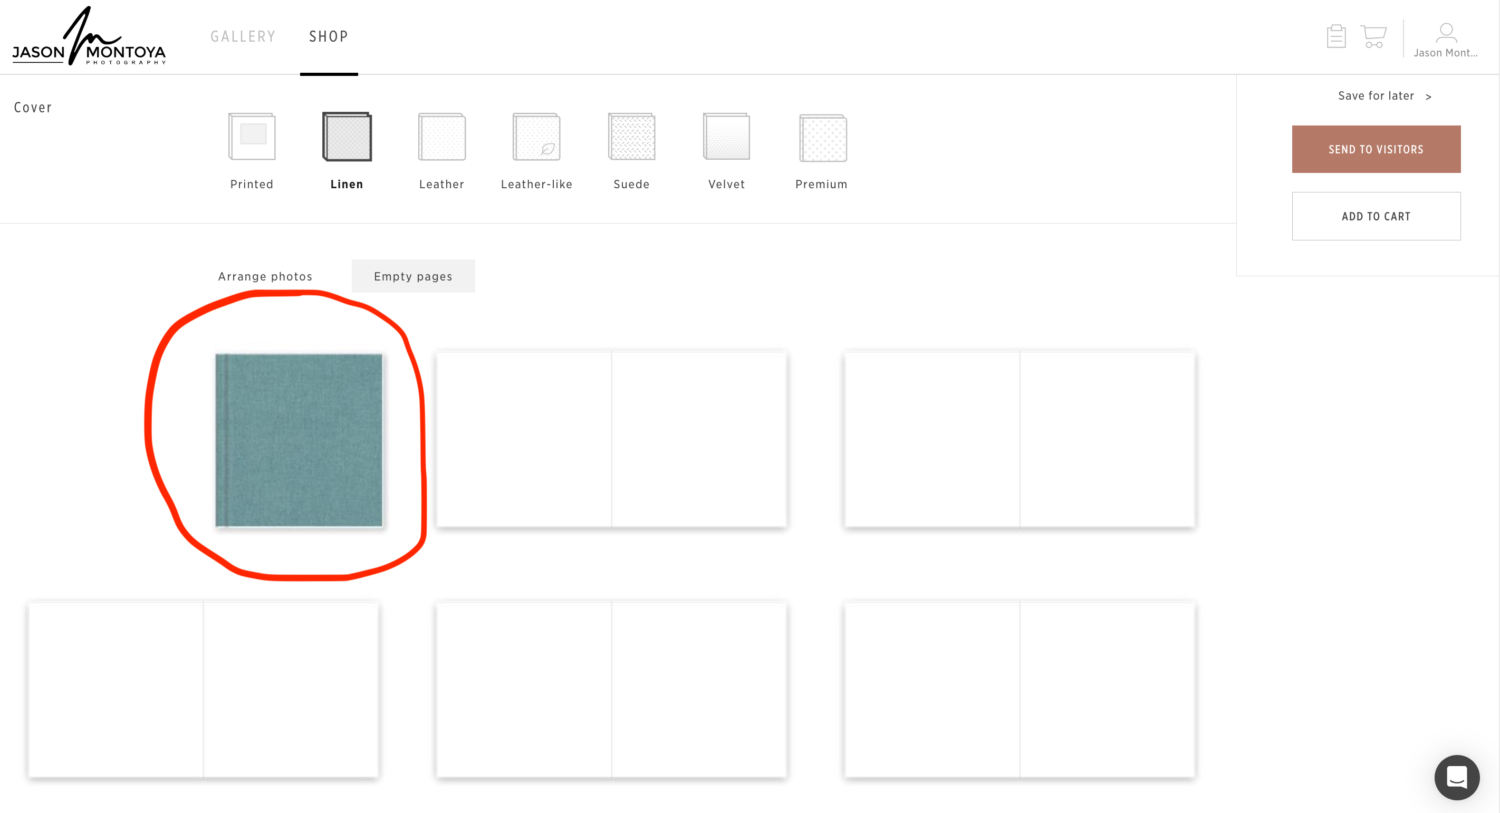
Step Six: Customizing the album cover is fun and intuitive. Hover over the cover page to edit then pick a cover color that speaks to you. I recommend adding a title using your and your partner’s first names with an ‘&’ symbol in ‘Caslon Italic’ font. I think this combination looks super clean and timeless.
Once completed, hit ‘Next’ on the right-hand side of the screen to begin editing the album pages.
Tips For Wedding Album Designing
Now we’re getting to the meat and potatoes of this guide. I’ll walk you through the step-by-step process of how I created Jacklyn and Will’s 10×10″ Linen wedding album. Let’s get started.
Start by selecting your favorites by clicking ‘My Favorites’ at the bottom right of the screen (above the image samples). If you haven’t selected your favorite yet, you can go back and select your favorites or you can proceed with the wedding album design from scratch with no selected images. Since all the photos are uploaded and displayed in chronological order, you still have a cohesive approach to designing the album pages.
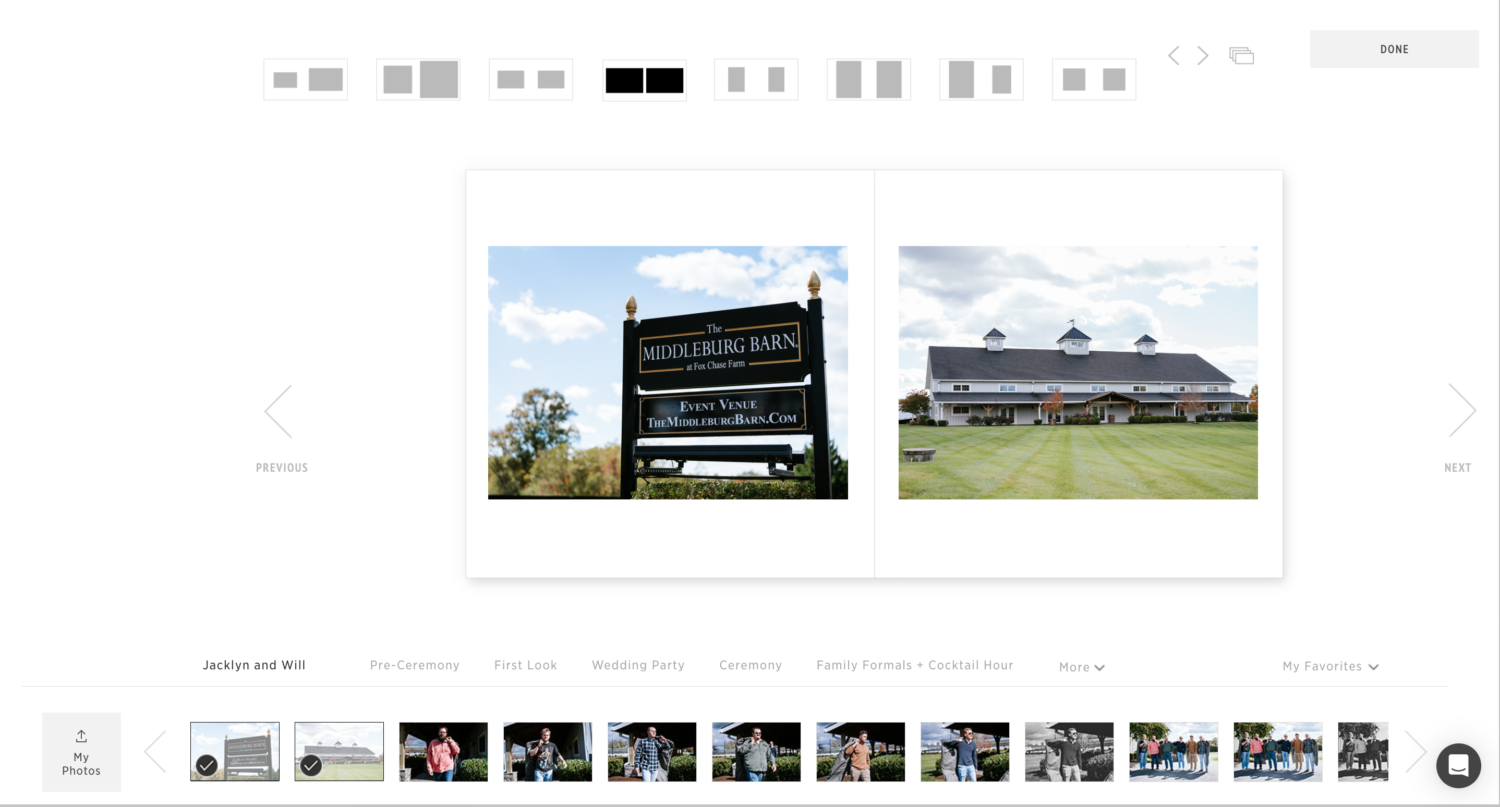
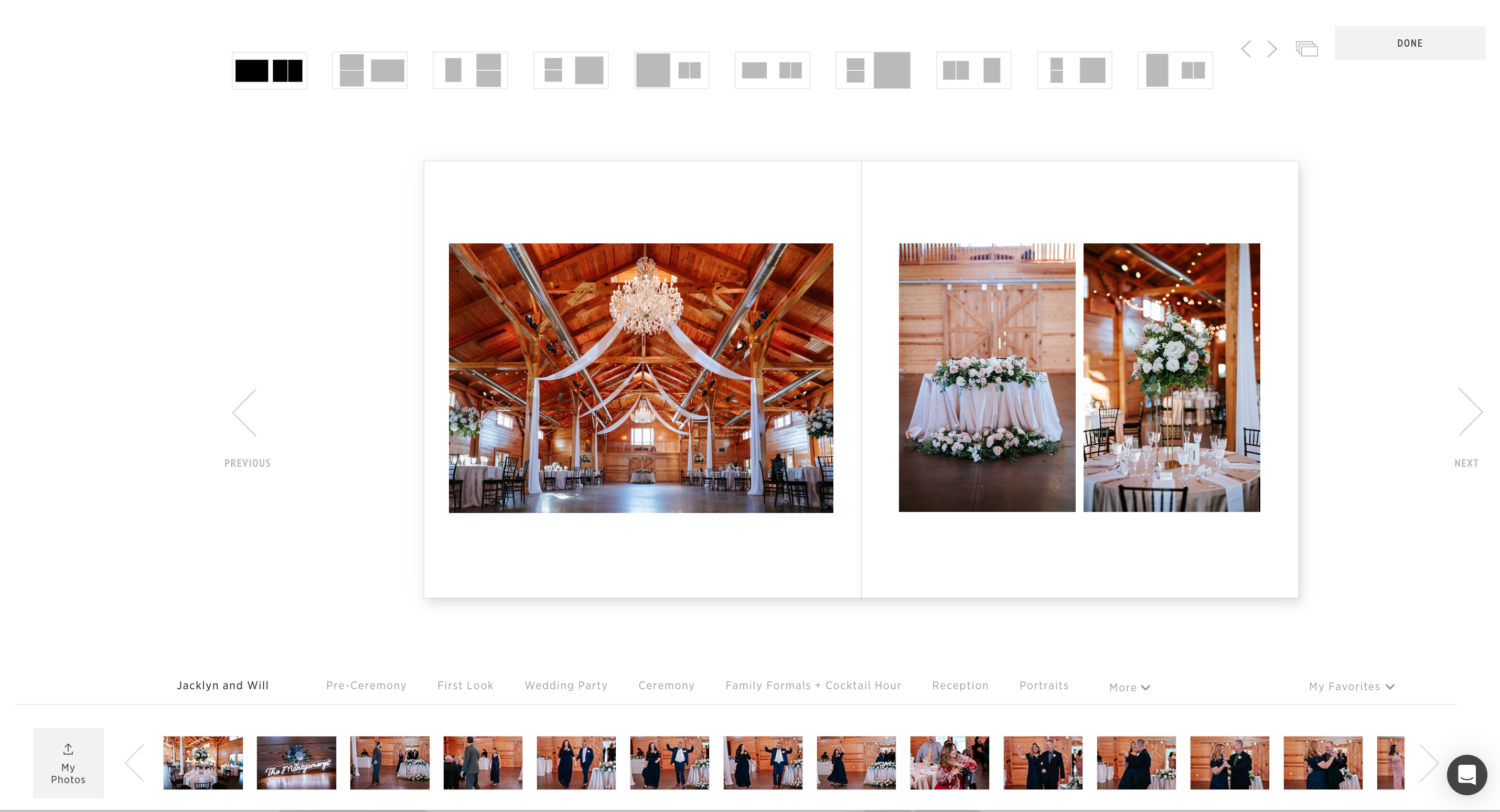
Pages 1 and 2: Setting the Scene
I view wedding albums as a visual storybook of the wedding day, so I like to start albums with establishing shots of the venue since it sets the scene for the wedding day.
I follow this pattern anytime we move to a different venue in the event the ceremony and reception take place in different locations. On this wedding day, everything took place at the Middleburg Barn so these were the only venue shots included in the album (ceremony and reception details to come later). I generally use a two-image spread to start the album.
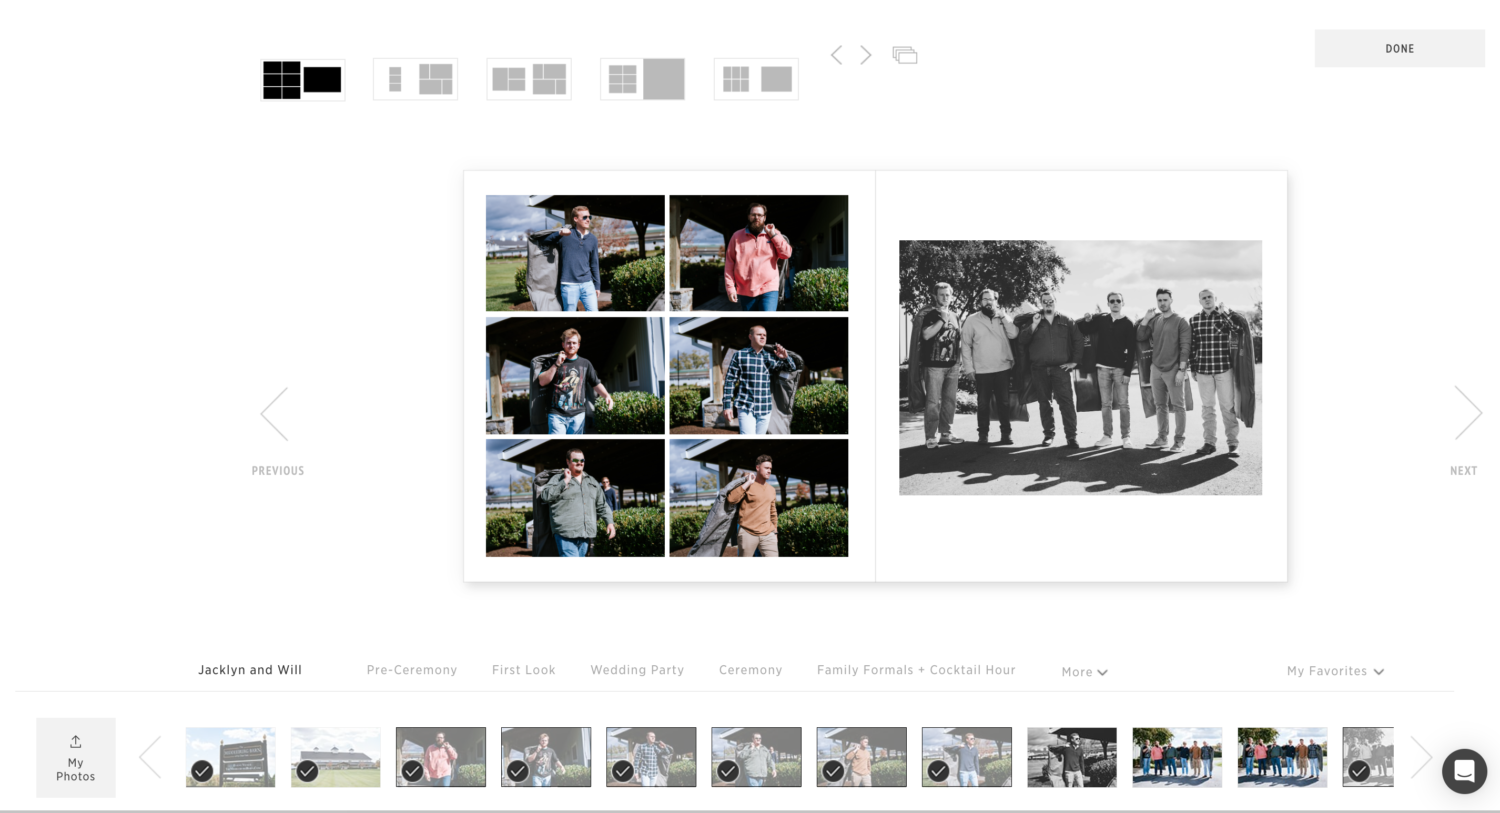
Pages 3 and 4: “Game Day” Entrances
On this particular wedding day, the guys really wanted “game day” pictures to kick off the photography process so I felt it was only appropriate to dedicate the next spread to this. I added an individual shot of each groomsman on page 3 then a group shot of the guys on page 4.
I generally like to stick to photo combinations of 2, 3, 4, or 5. These photo-combinations tend to work great for storytelling. Anytime a spread has over 5 images it tends to look busy.
That being said, I broke my own rule with this spread and it turned out nicely. This is a friendly reminder that designing albums is an art in itself, so it’s completely subjective and you’re welcome to design as you like!
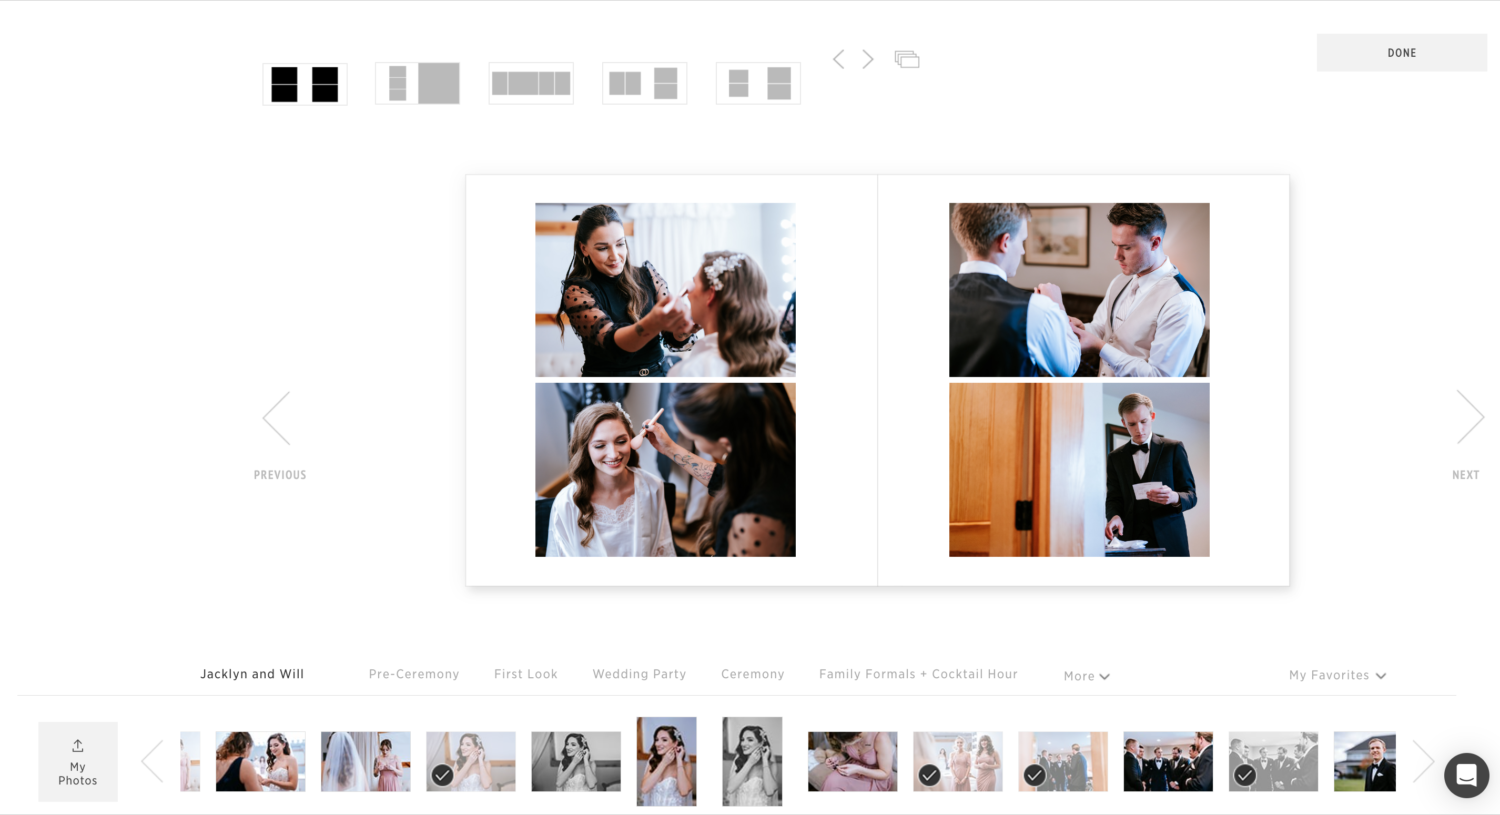
Pages 5 and 6: Getting Ready (Part One)
This spread was designed to show the bride and groom simultaneously getting ready. It’s a setup for the final getting-ready images in the following spreads.
Pro Tip: Never use the same spread design twice in a row. Using a different design helps the album feel fresh and exciting to flip through.
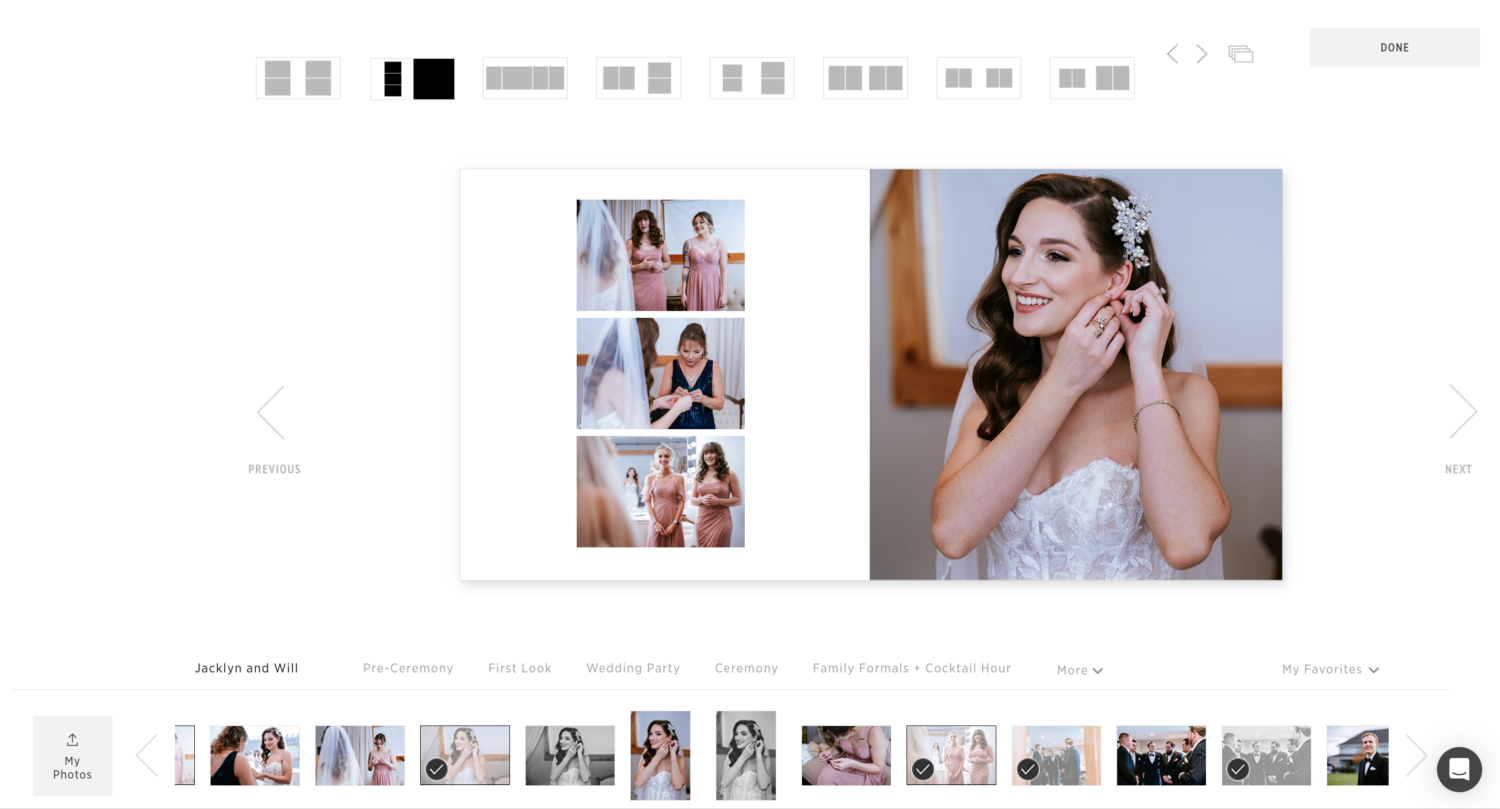
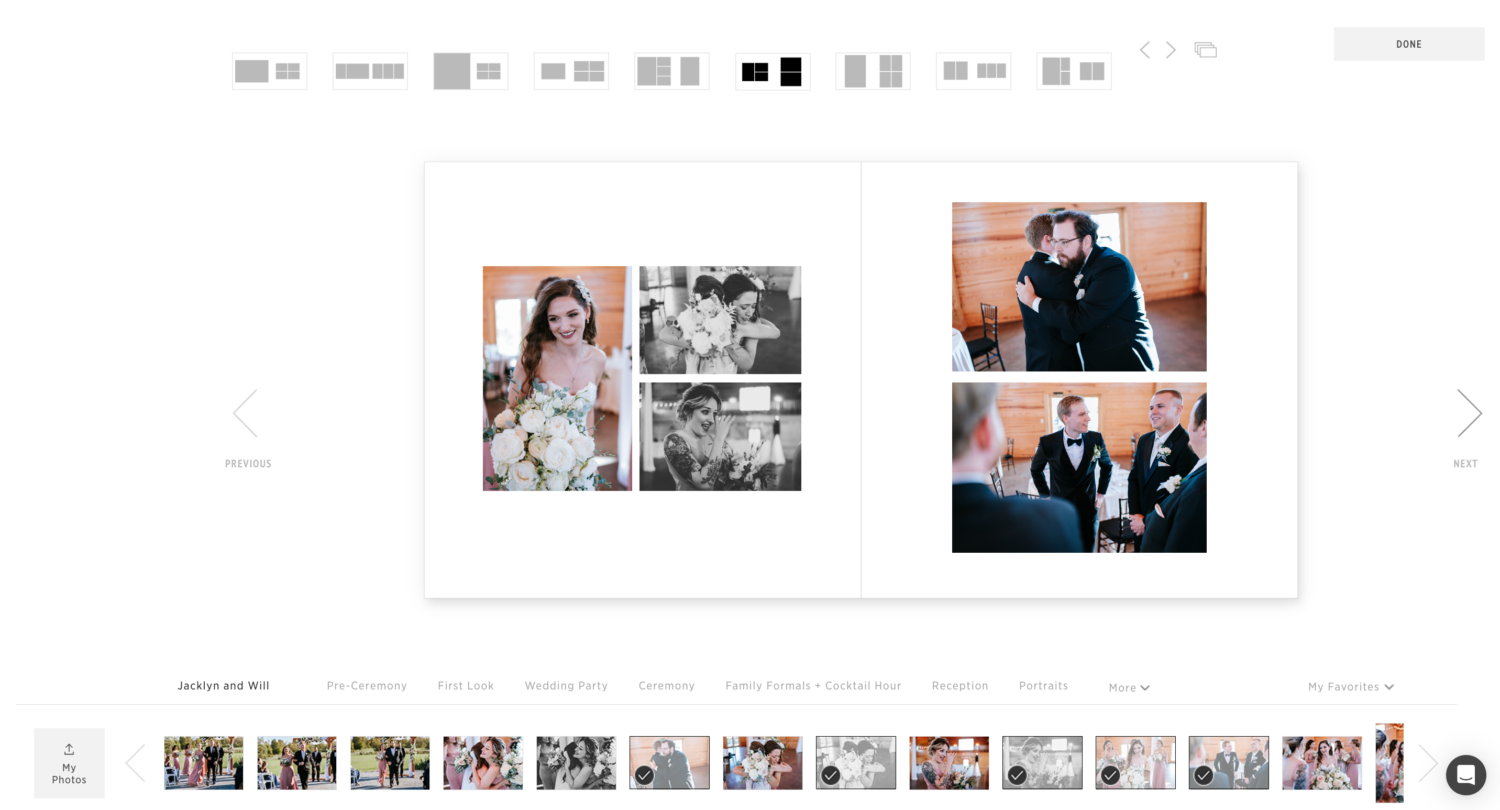
Pages 7 and 8: Bride Final Touches
This spread is specifically for the bride as she’s finishing up before the first look.
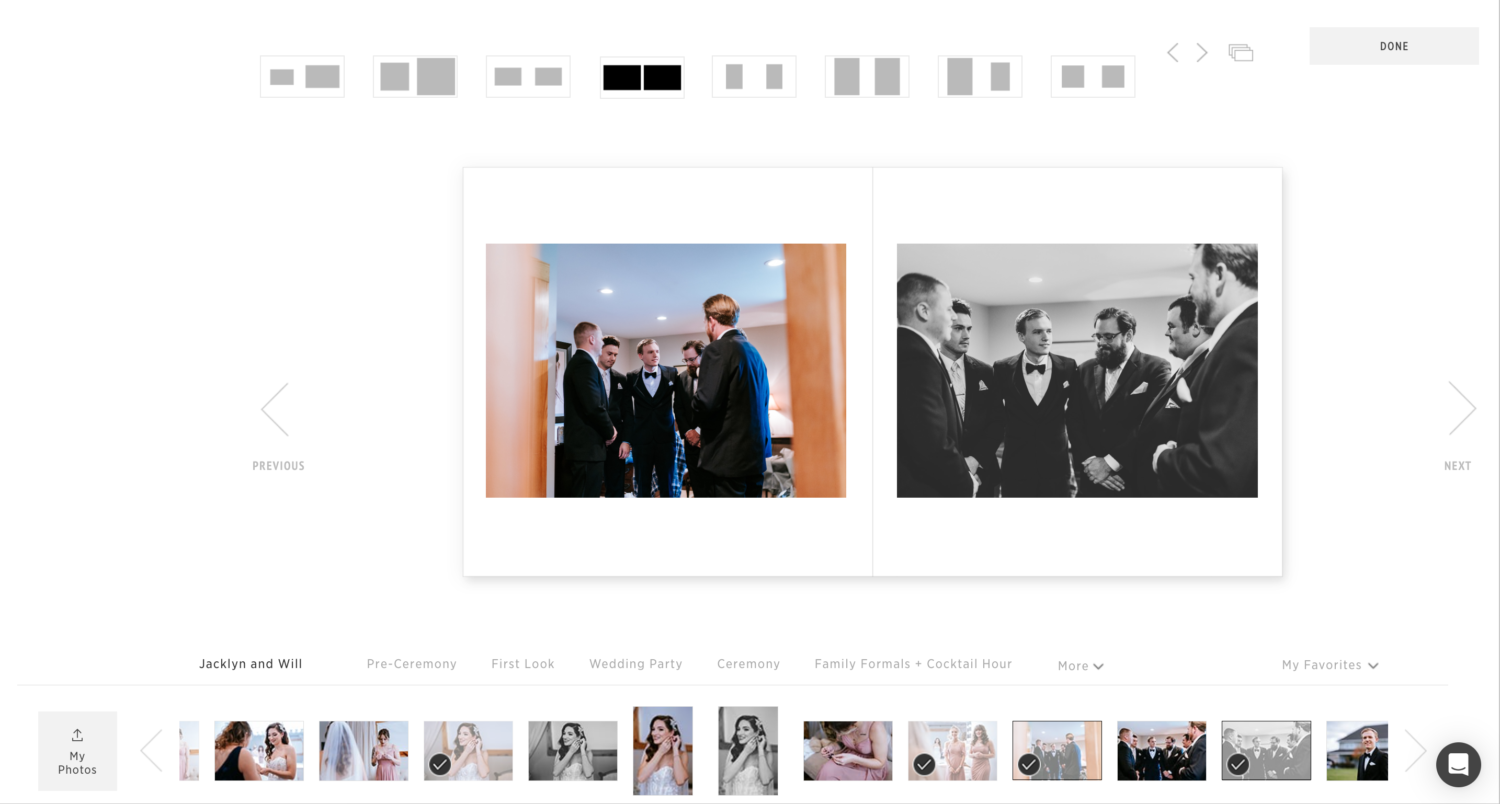
Pages 9 and 10: Groom Final Touches
The groom was ready to go for the first look, so I just got a few shots of all the guys doing a “Game Day” huddle while fully dressed.
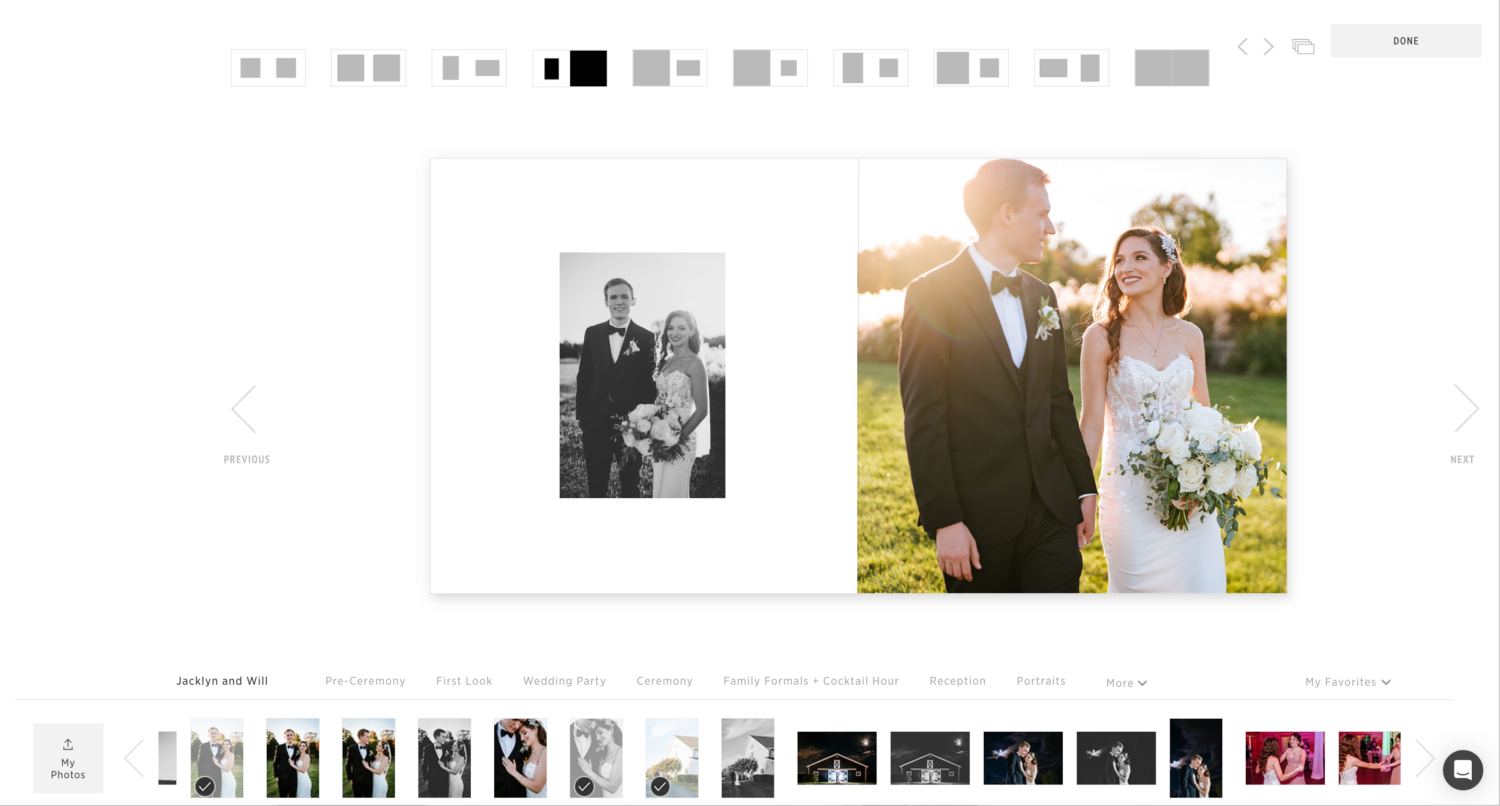
Pages 11 and 12: First Look
For first looks, I dedicate a spread to the walk-up, the tap, and the reaction.
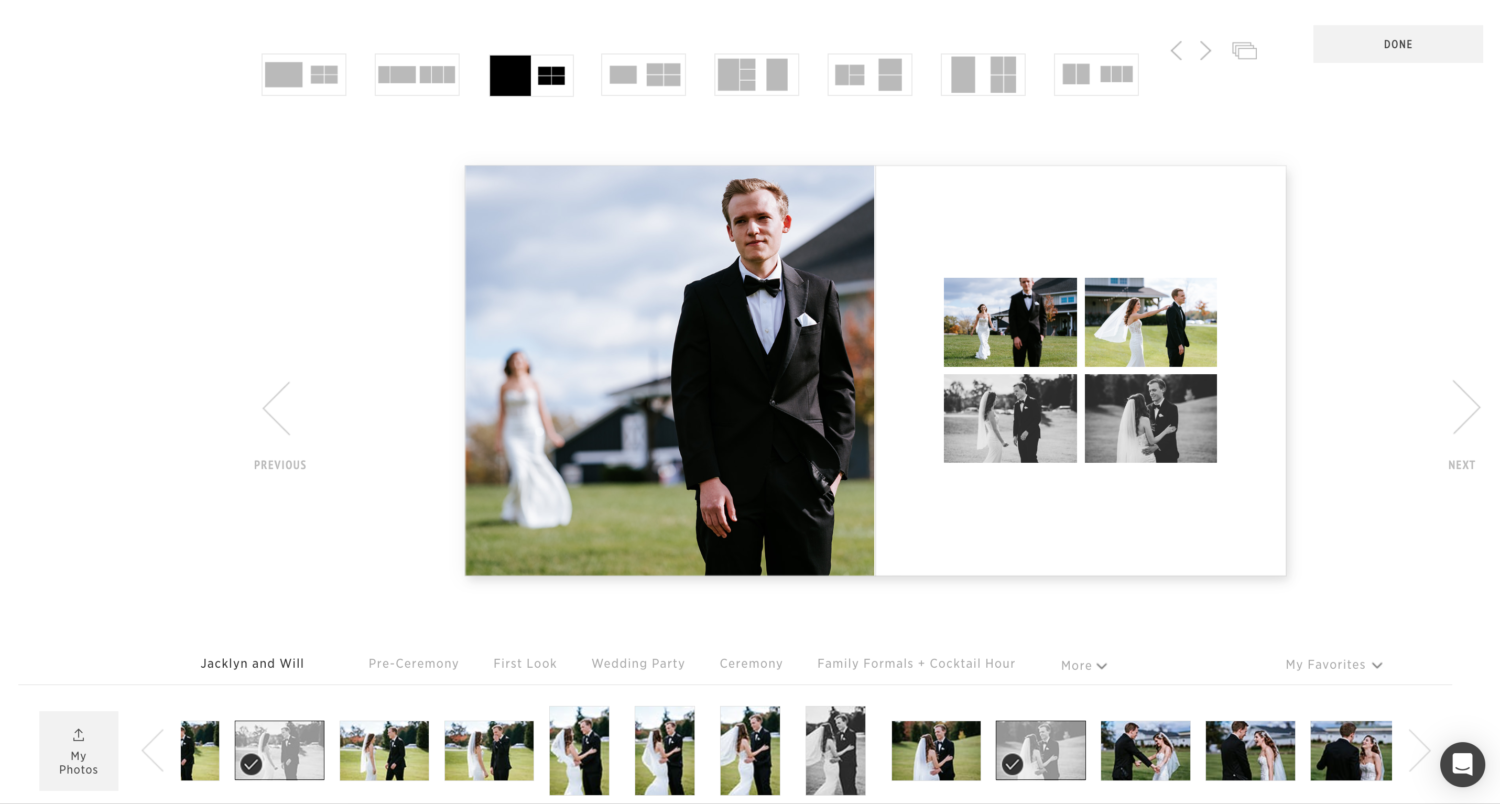
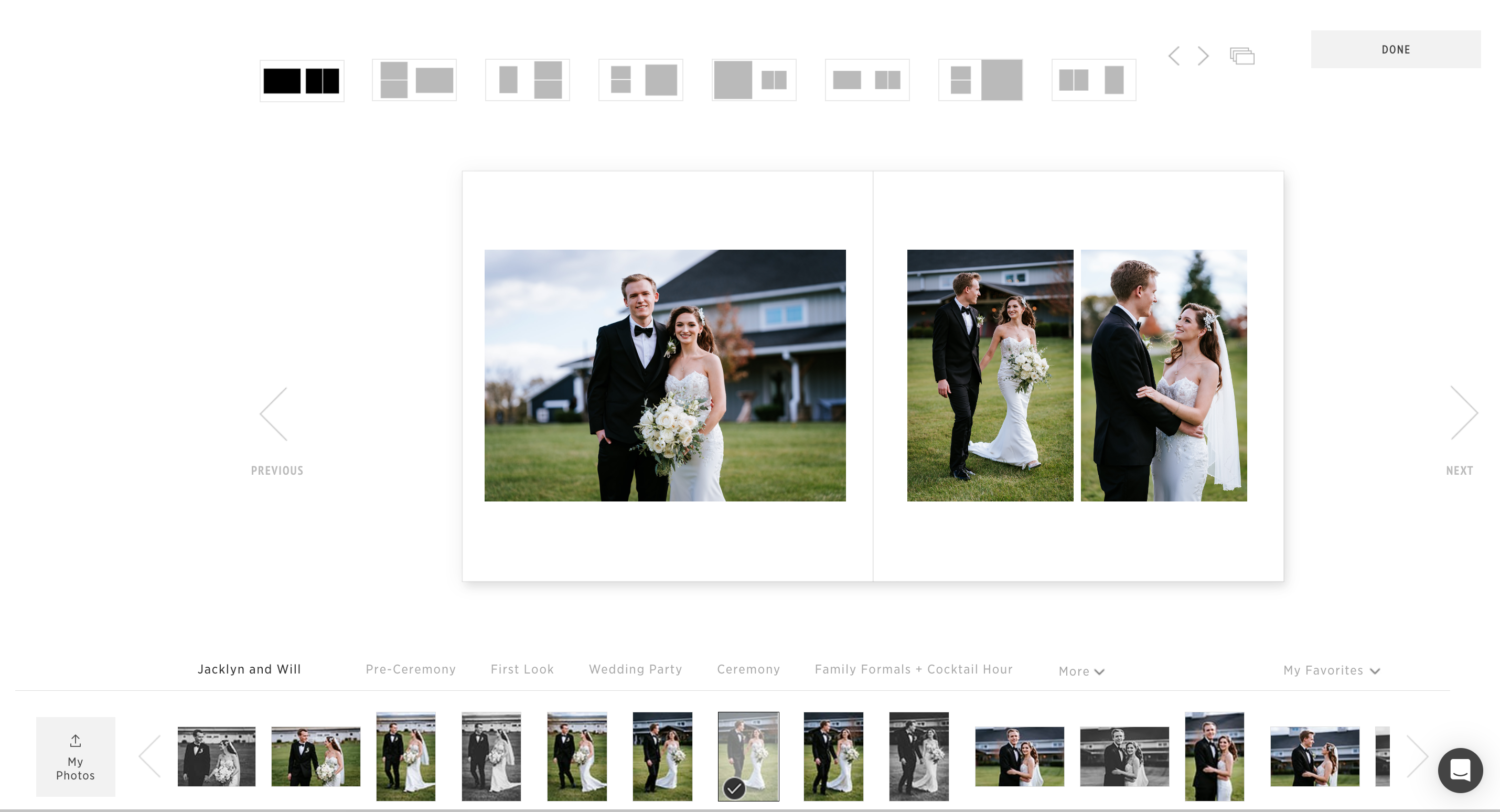
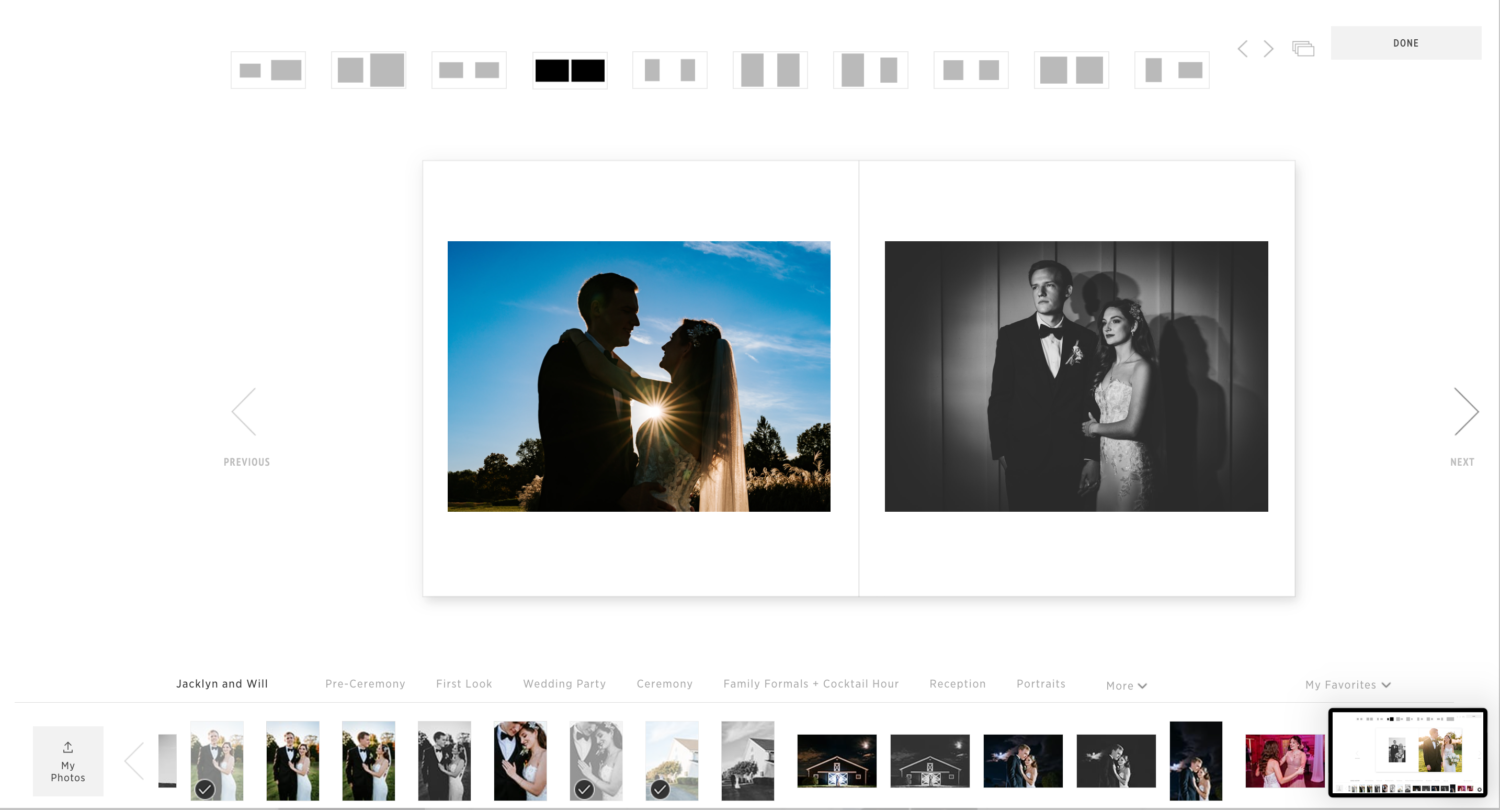
Pages 13 and 14: Portraits
Once the First Look is done, I’ll usually do a mini portrait session with my couples so this next spread features a few images from that mini session.
When it comes to portraits, less is more.
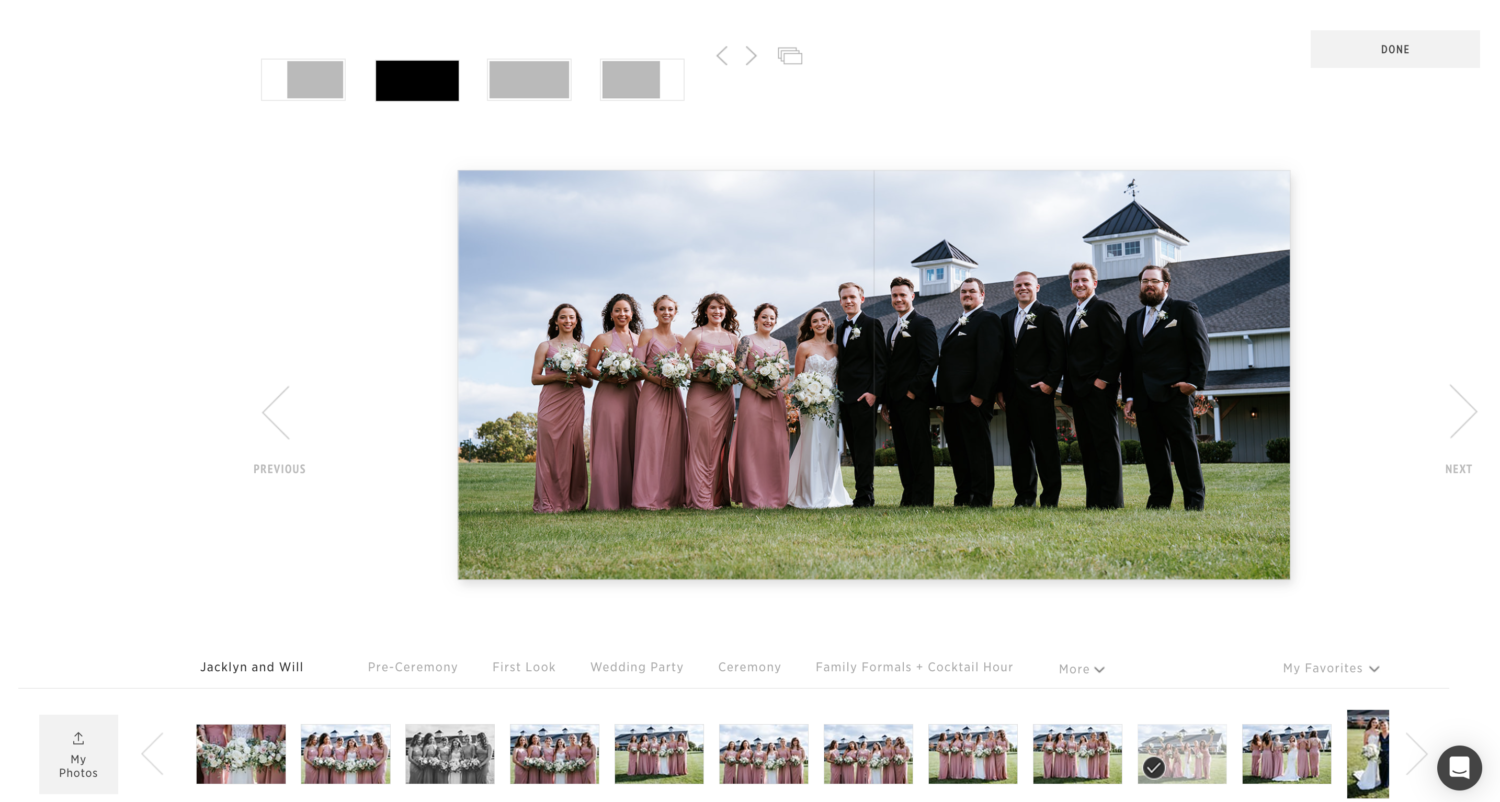
Pages 15 and 16: Wedding Party
This whole spread is for the wedding party group photo. I won’t always do single-image full-page spreads but when it works out it looks really nice. For this fun group, I knew how close they all were so I felt it was appropriate to have this shot be epic size.
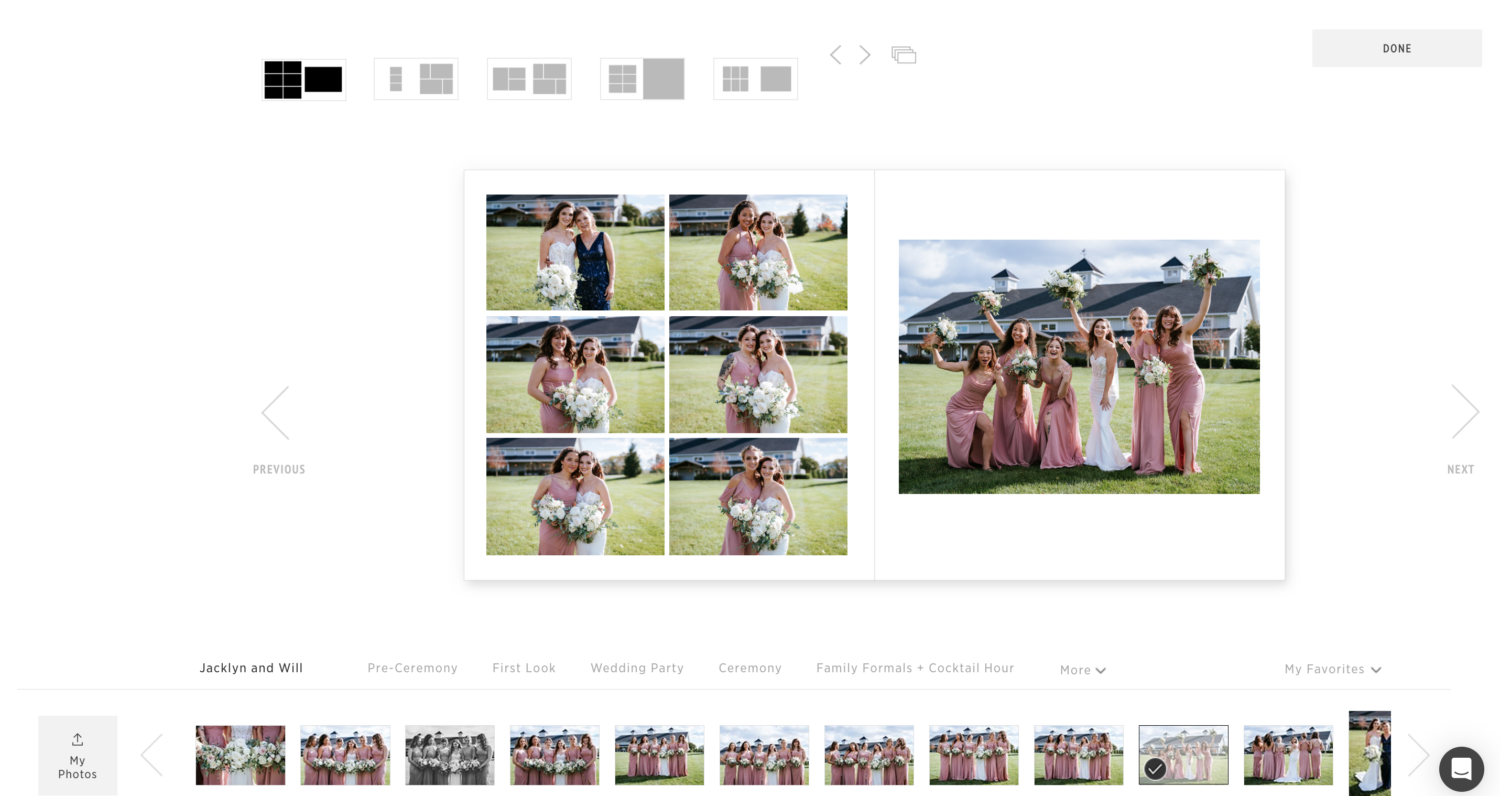
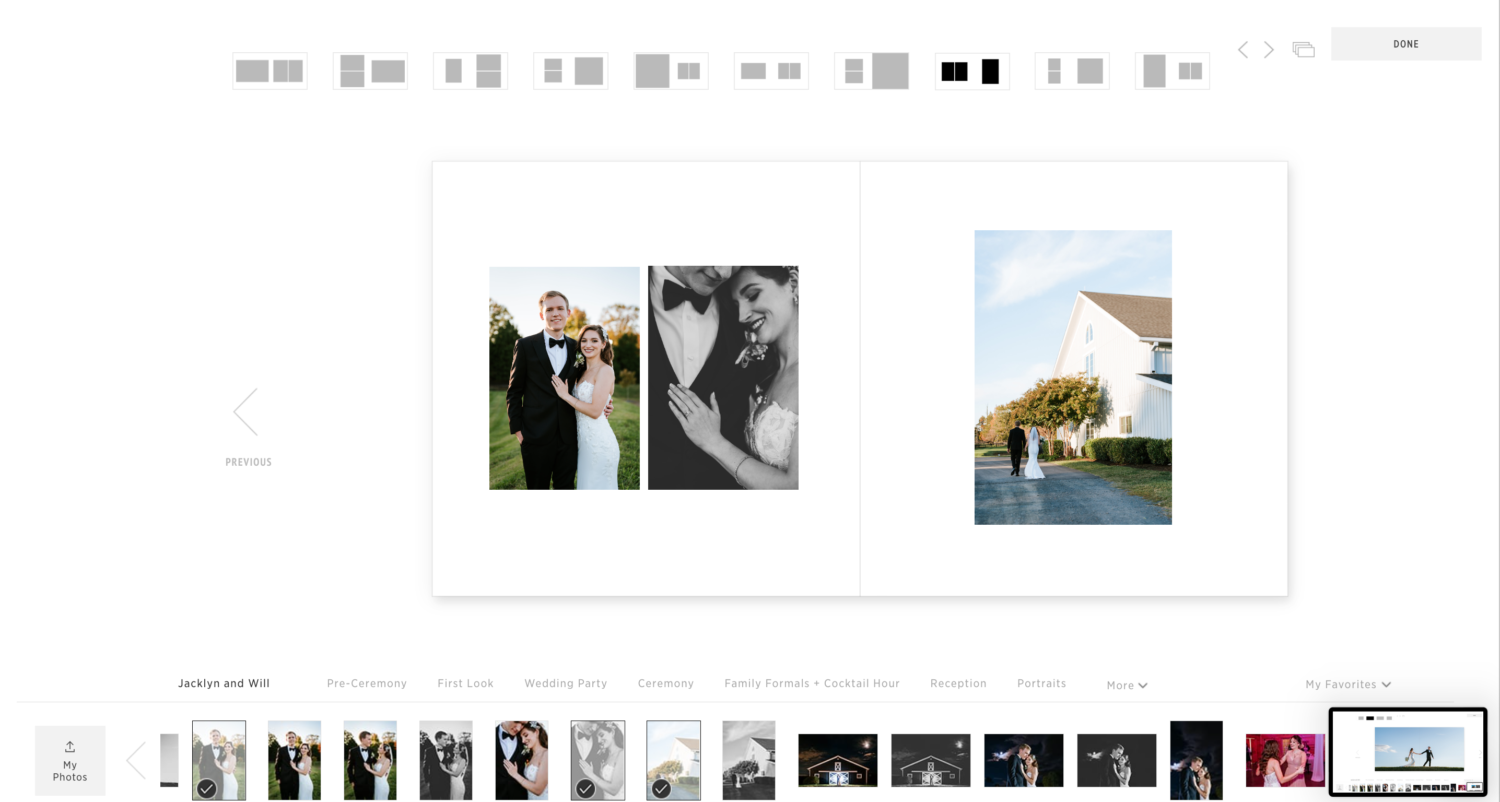
Pages 17, 18, 19, and 20: Bridesmaids and Groomsmen
The next two spreads are for the bridesmaids and groomsmen. Each group got its own spread and followed a similar pattern of individual photos (i.e. bride + bridesmaid) and then a group shot.
For the wedding party, if there’s ever an odd number of images and the photo arrangement doesn’t work as perfectly as it did with the bridesmaids (pages 17 and 18), I’ll place more emphasis on either the Maid of Honor or the Best Man (as I did with the groomsmen on pages 19 and 20).

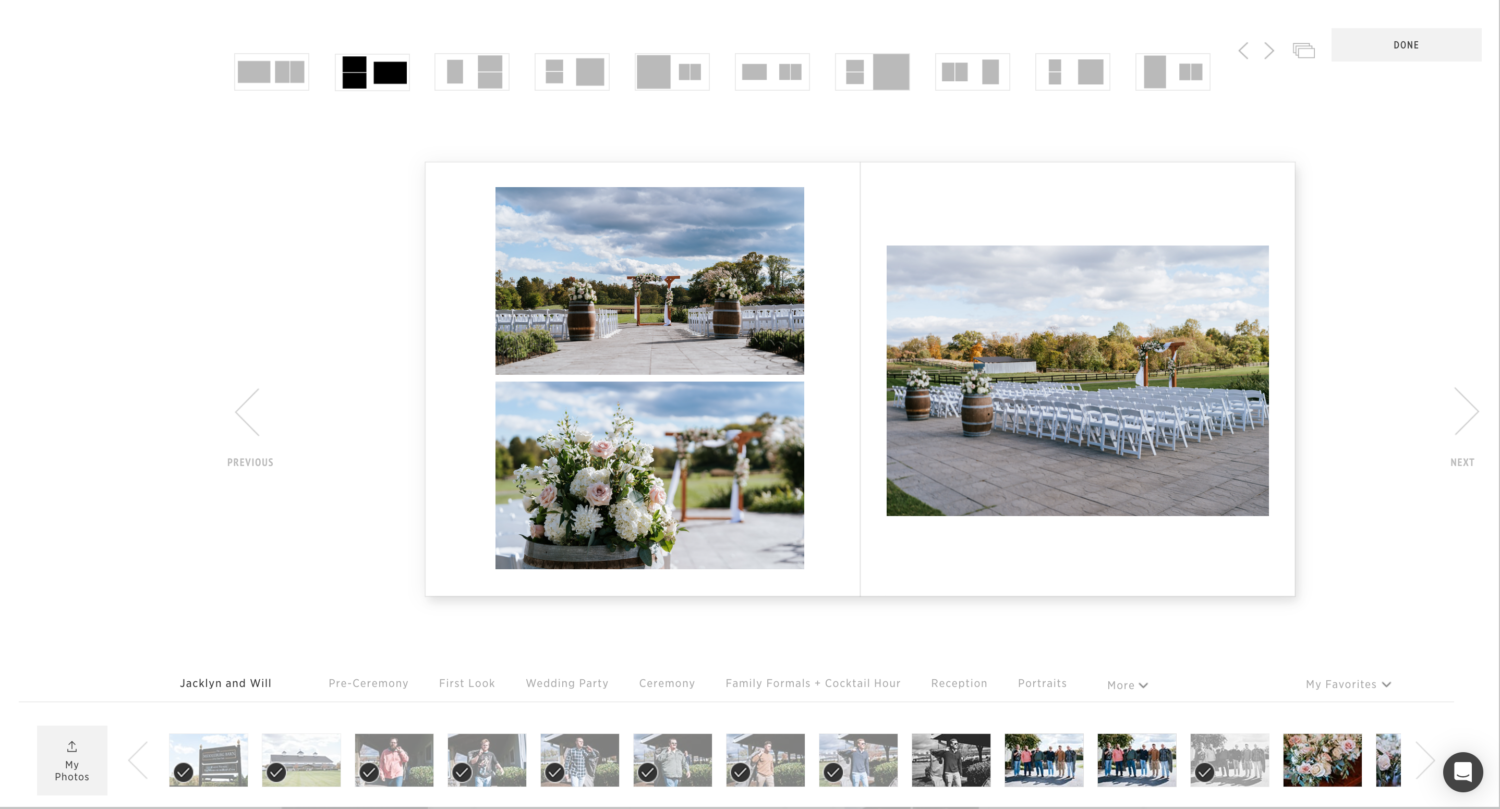
Pages 21 and 22: Ceremony Details
Since we’re moving into the ceremony portion of the day, I like to establish the scene with detail photos of the ceremony space (similar to how we first started the album with venue images).
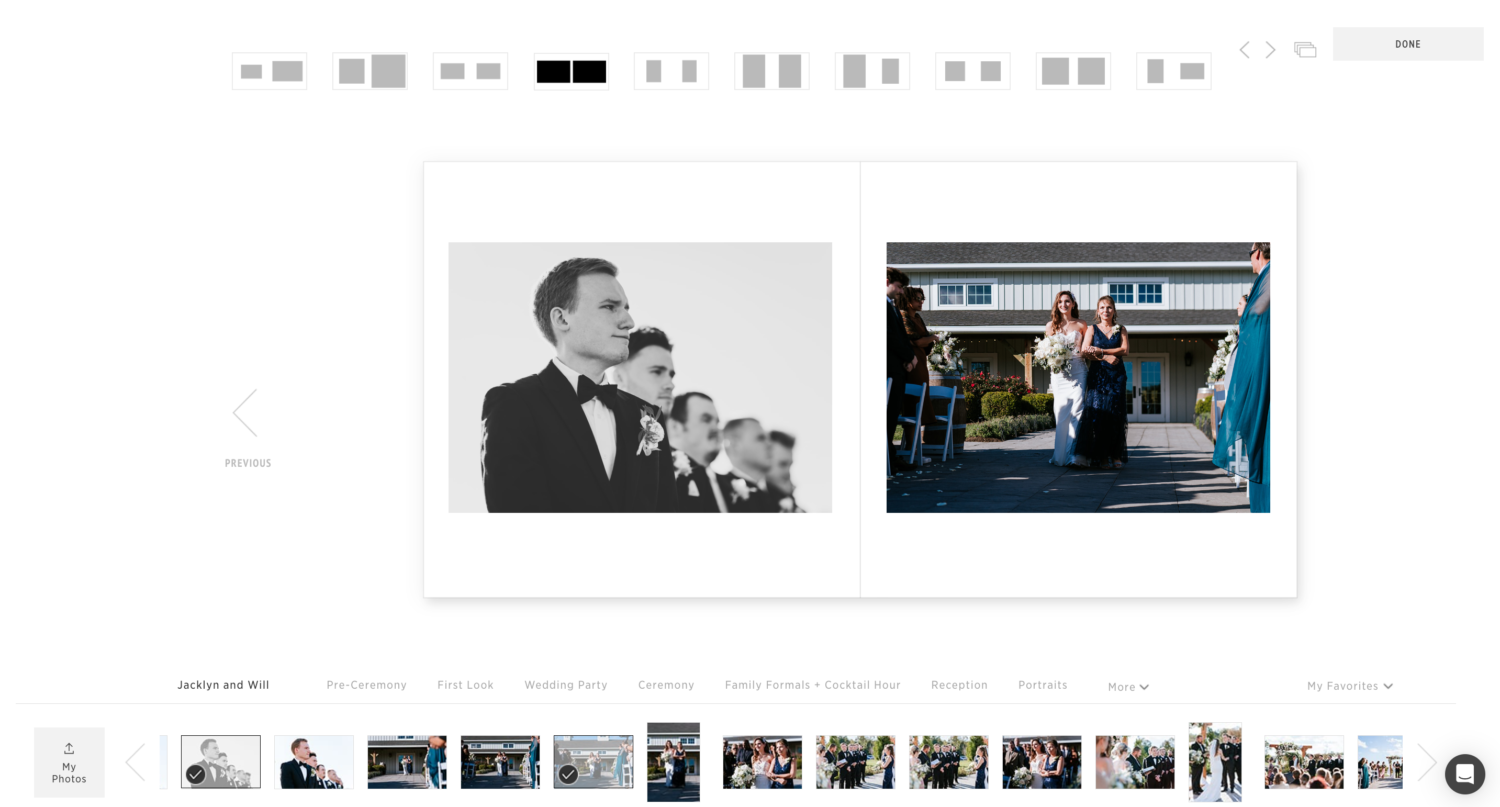
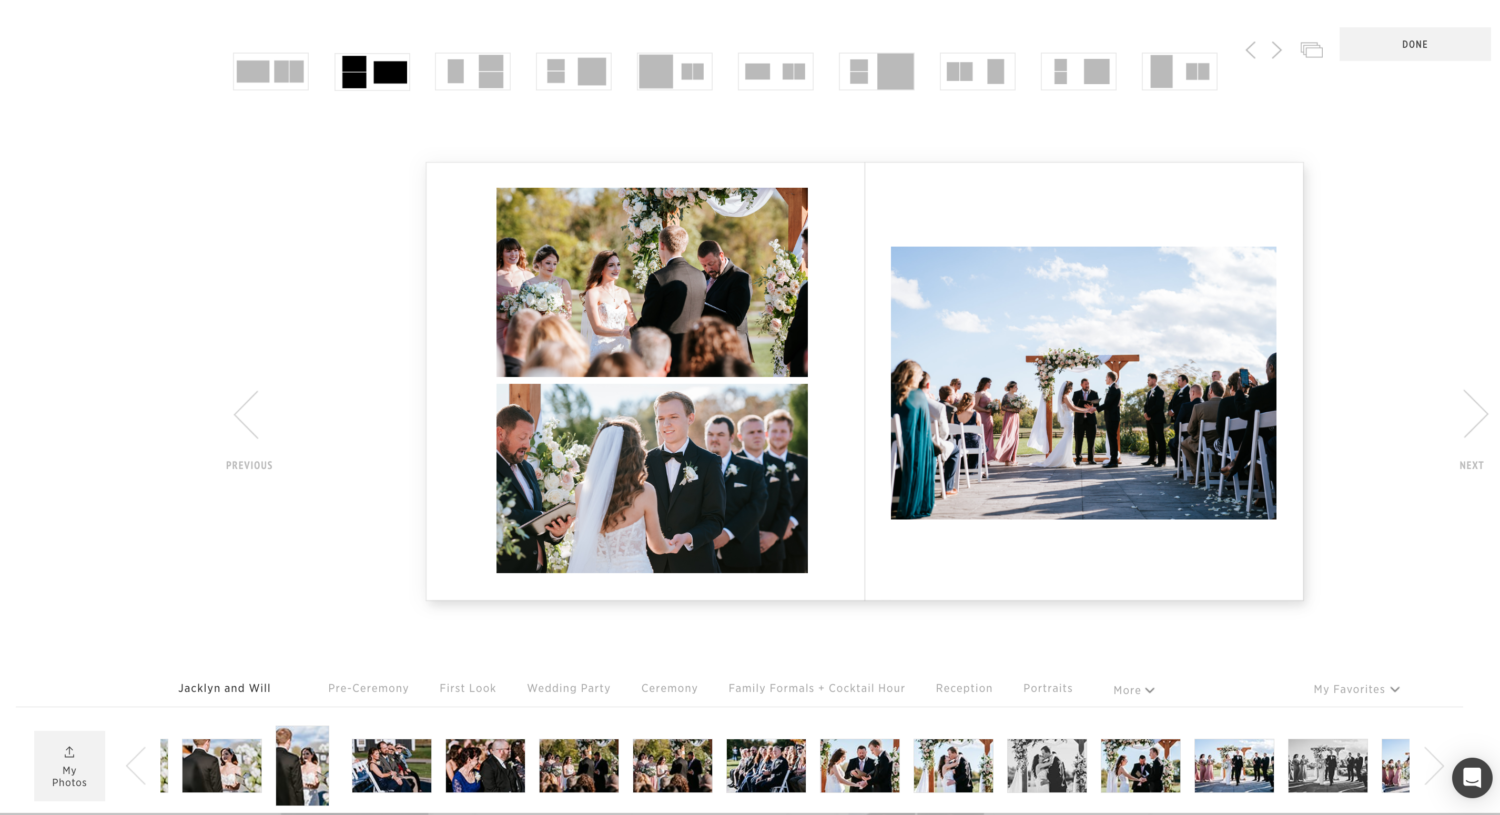
Pages 23 and 24: The Groom’s Reaction
I like starting the ceremony photos by getting straight to the good stuff which typically includes an image of the bride walking down the aisle plus the groom’s reaction to seeing her.
This is easily one of my favorite spreads throughout the whole album.
Pages 25 and 26: Ceremony Perspectives
This spread captures the bride and groom from opposite sides of the ceremony along with a wide shot looking down the aisle (a perspective brides and grooms don’t get to see on their big day).
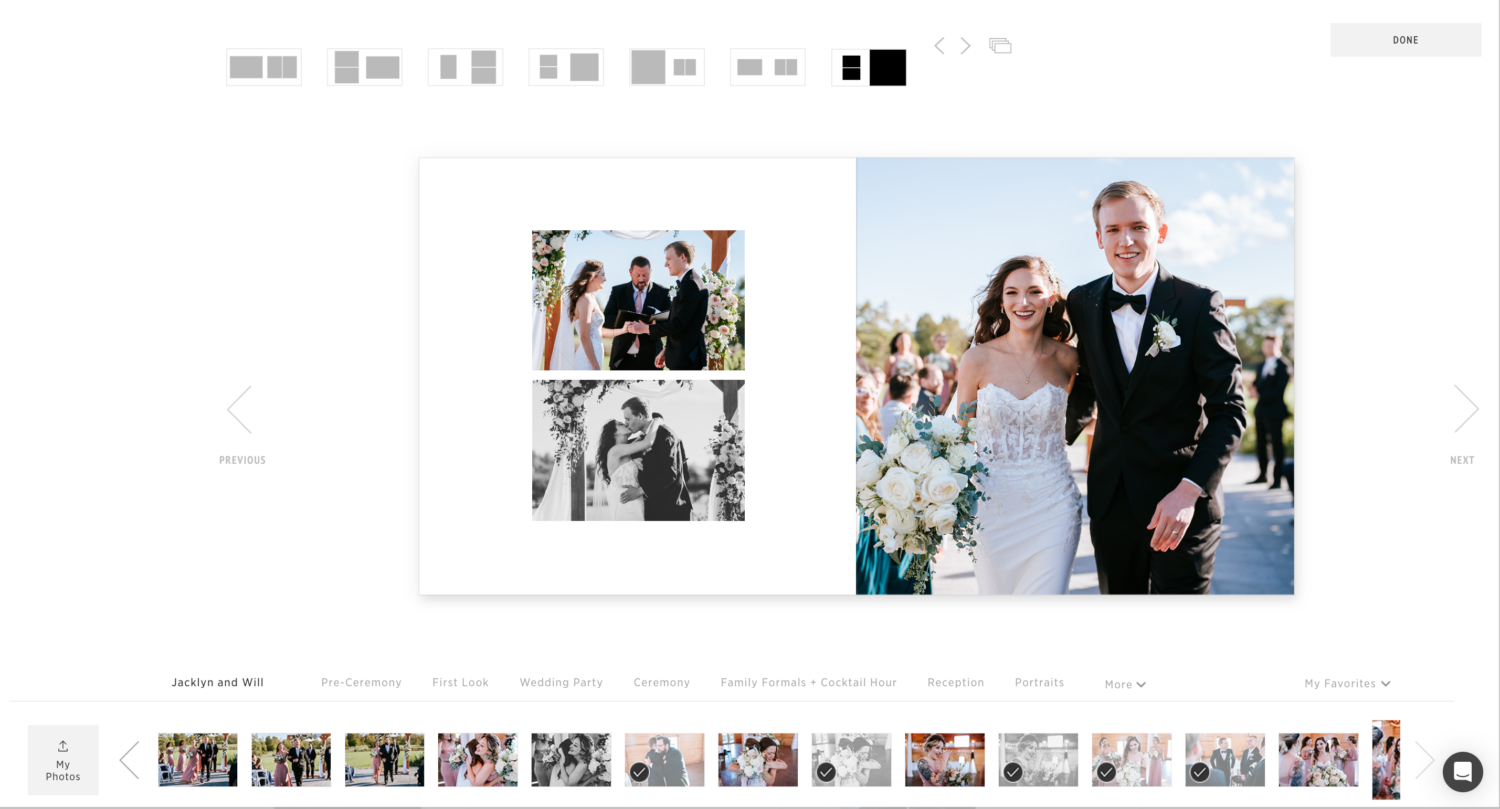
Pages 27 and 28: Ring Exchange, First Kiss, and Exit
This one is pretty straightforward. Three final images to close out the ceremony section of this wedding album.
Pages 29 and 30: Congratulations
There’s a sweet moment after the ceremony is over when the wedding party and close family members will hug the newlywed couple. These are fun photos to capture and add a lot to telling the visual story of the wedding day.
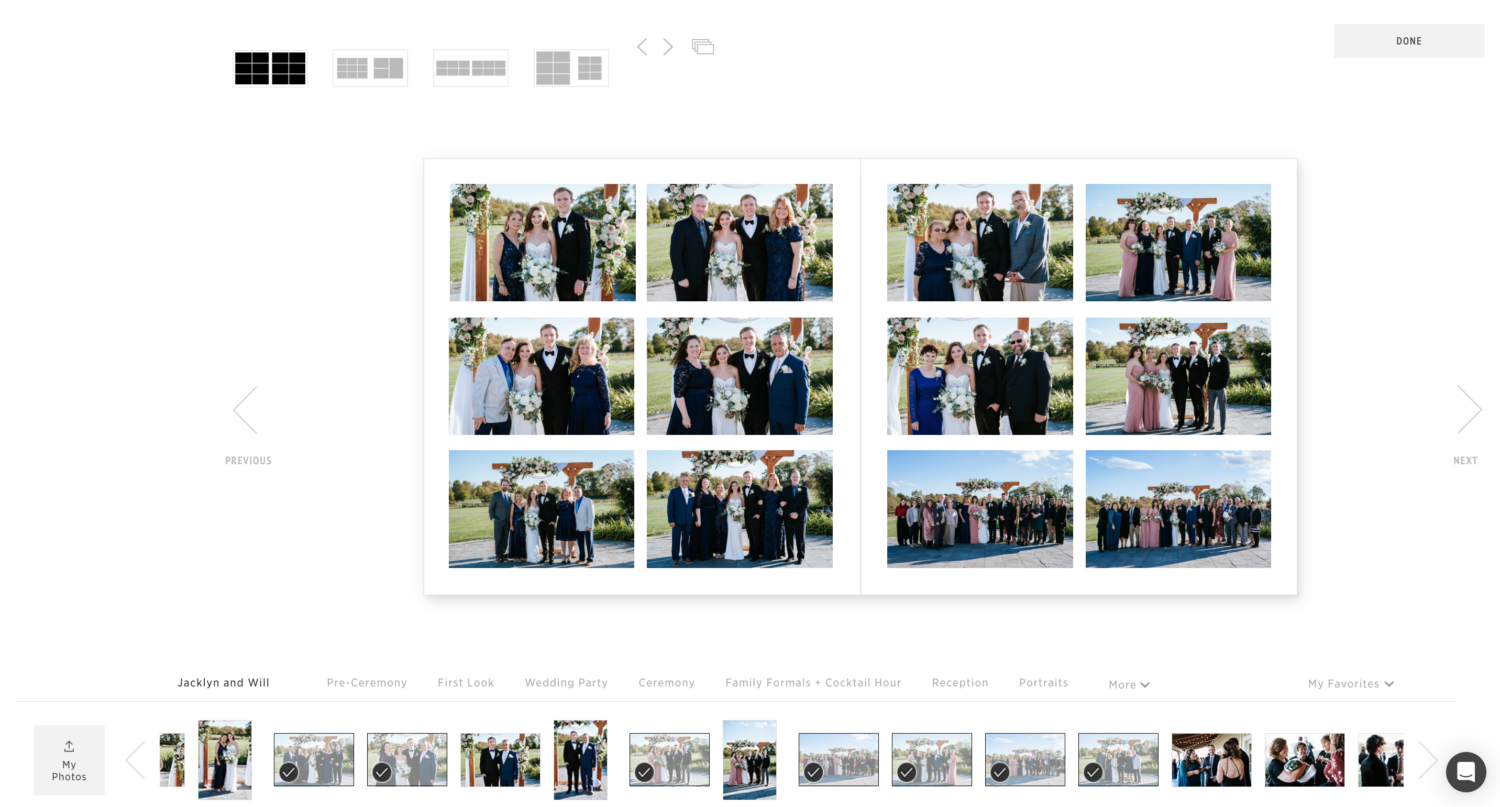
Pages 31 and 32: Family Formal Photos
Family is an essential part of every wedding day. They definitely get their own spread!
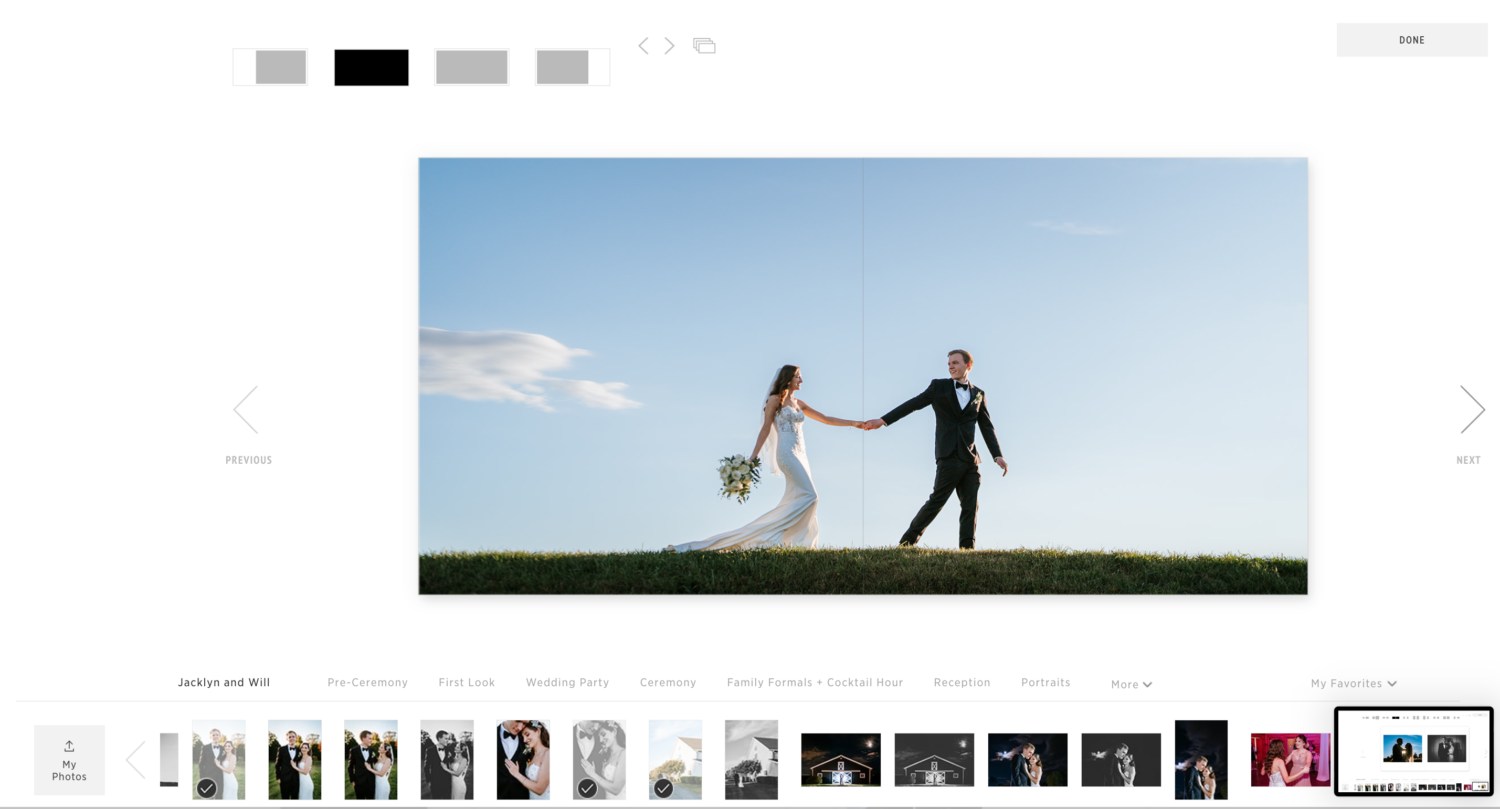
Pages 33 – 42: Portraits
We were fortunate to experience a perfect golden hour sunset right after wrapping up the family photos, setting the stage for an exciting and wondrous portrait session. The next four spreads highlight the couples’ portraits.
As I mentioned earlier in this guide, when it comes to portraits, less is more so don’t throw too many couples photos into one spread (I like to keep it under 4 images).
I like to start couples portraits with a simple “look at the camera” shot before introducing creative elements. I feel this is a good way to transition from the family formal photos into the couple portraits. You’ll notice I completed this section of the wedding album with a ‘walking to the venue’ shot to transition into reception time.
Always keep in mind the story you want to tell!
Pages 43 and 44: Reception Details
Time to kick off the reception section of the wedding day with details. This follows a similar style to the ceremony details from earlier in the album.
Pages 45 and 46: Reception Entrances
For this spread, I like to include at least one shot from each wedding party member while placing more emphasis on the bride and groom.
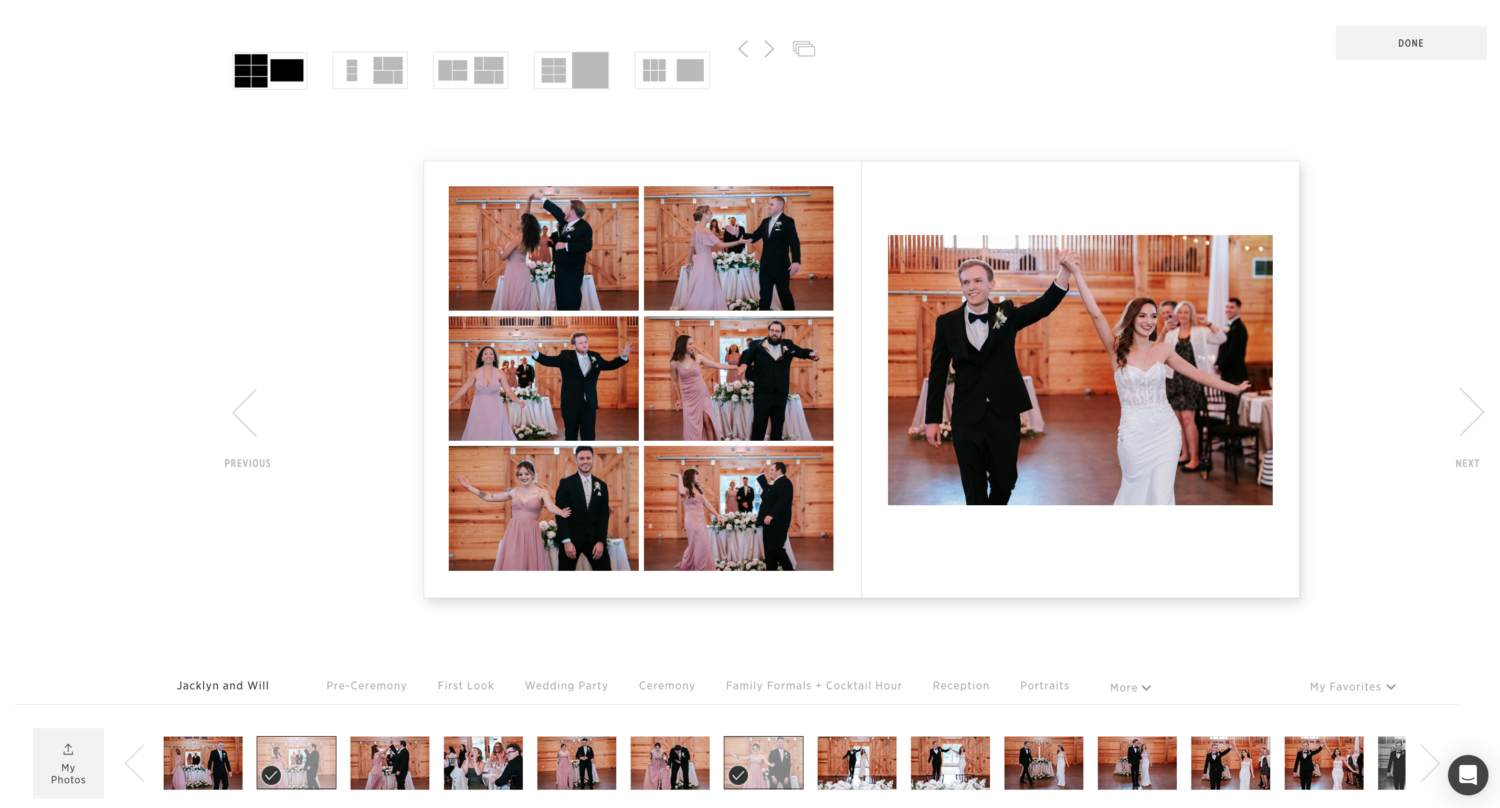
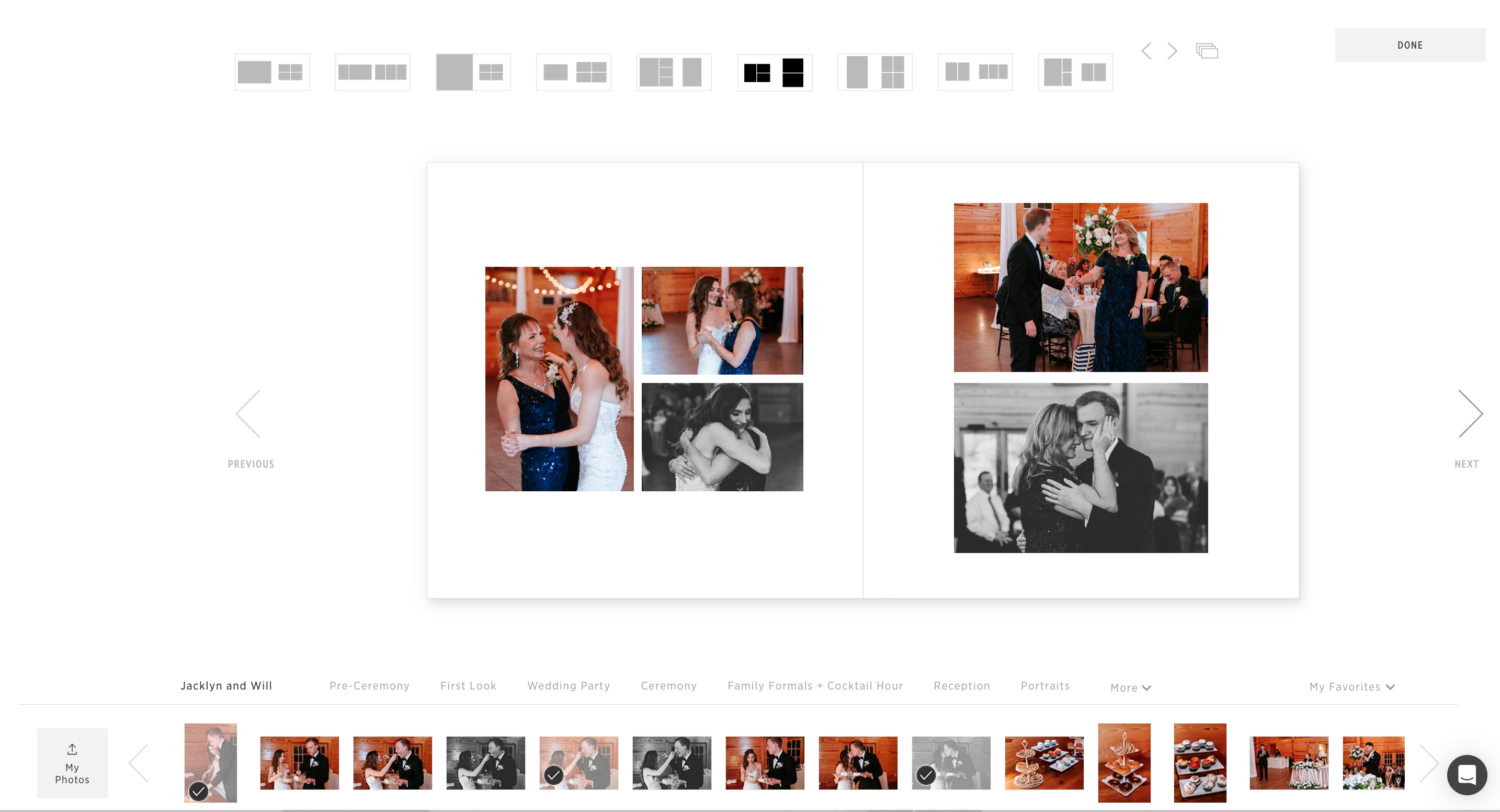
Pages 47, 48, 49, and 50: First Dance + Parent Dances
The next spreads are for the formal dances. One full spread for the bride and groom’s first dance followed by a shared spread for the parent dances.
For the bride and groom’s first dance, I like to start with a wide shot and then use a tighter, more zoomed-in shot.

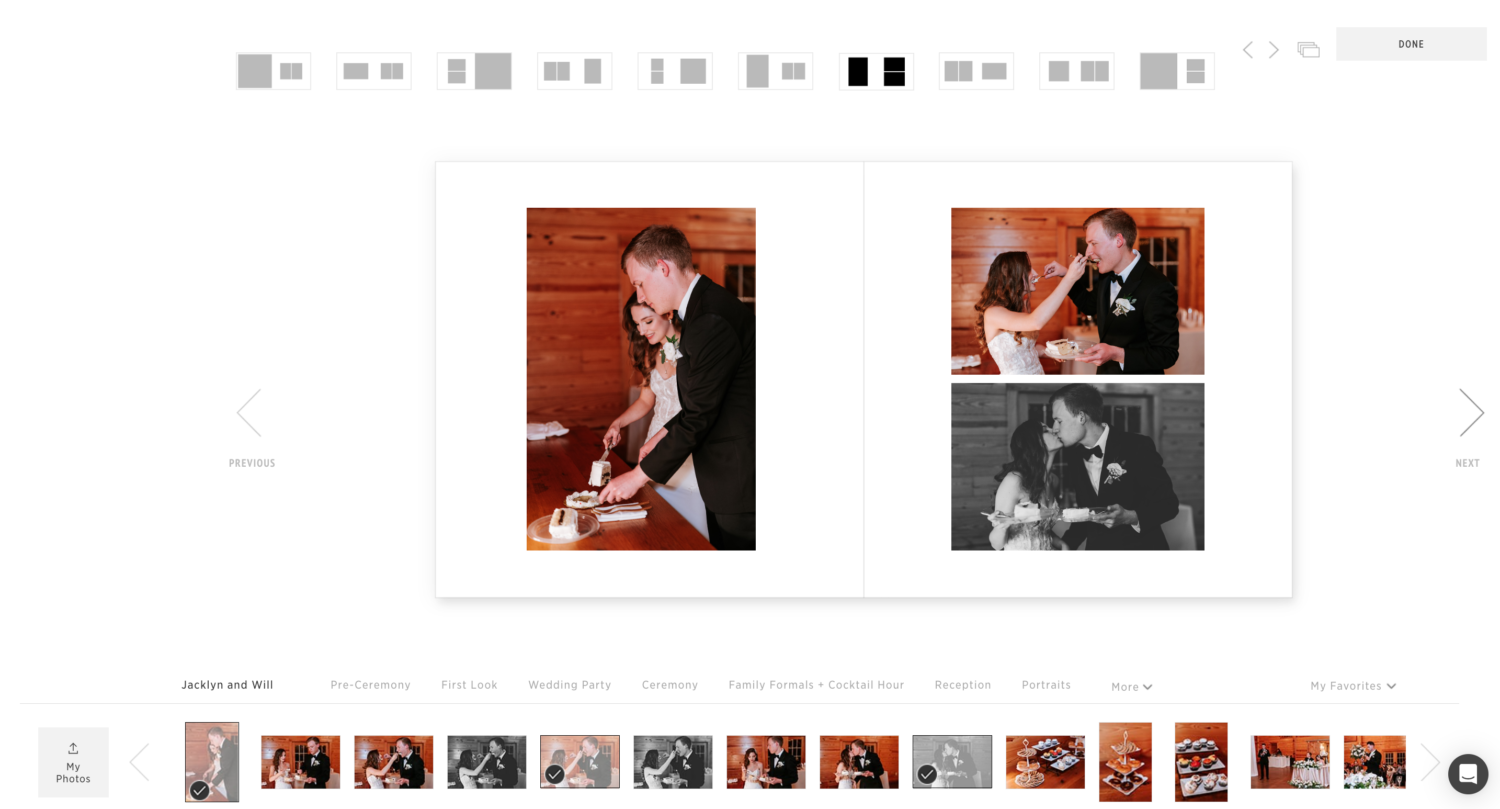
Pages 51 and 52: Cake Cutting
This one is pretty straightforward!
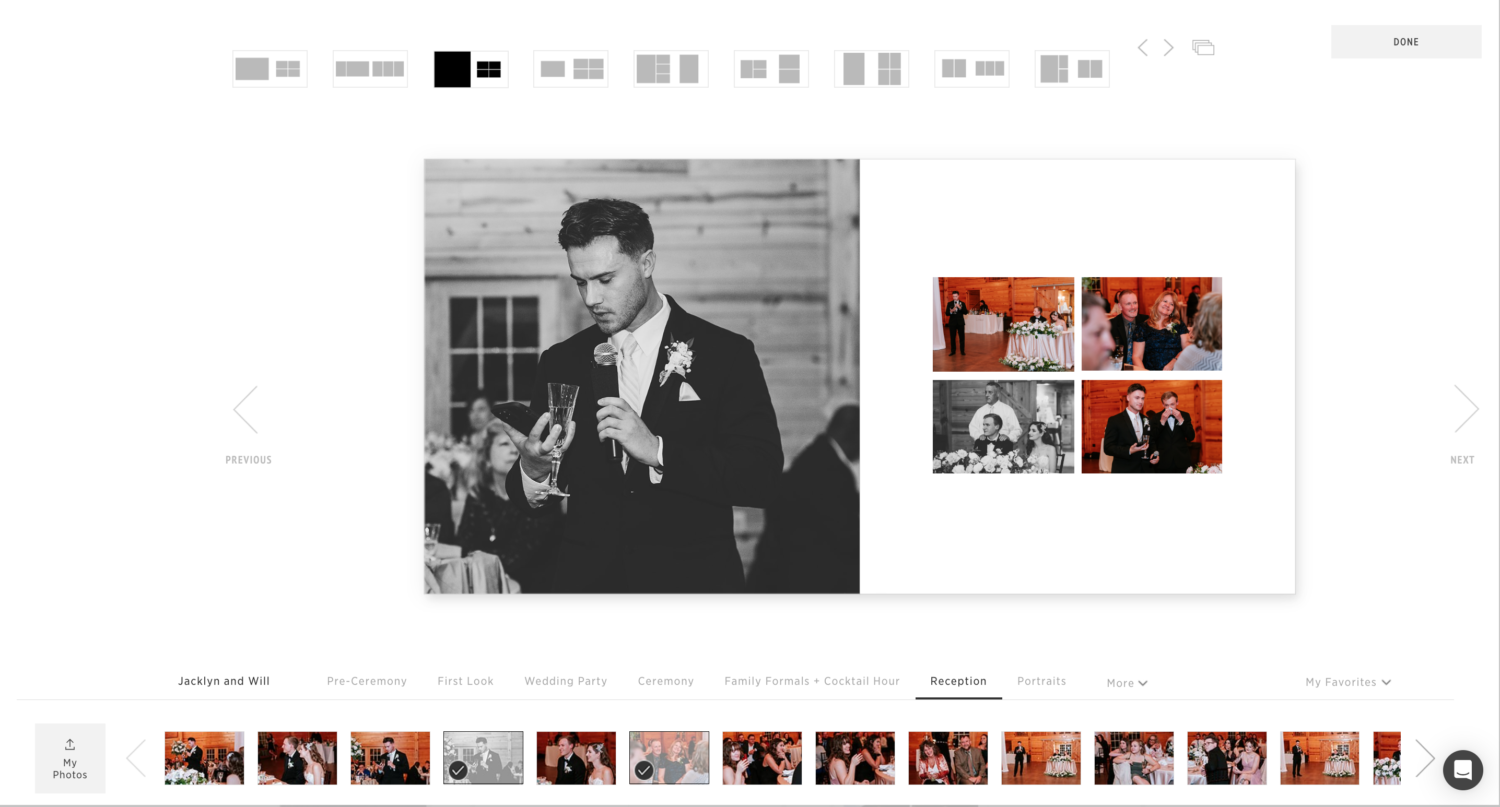
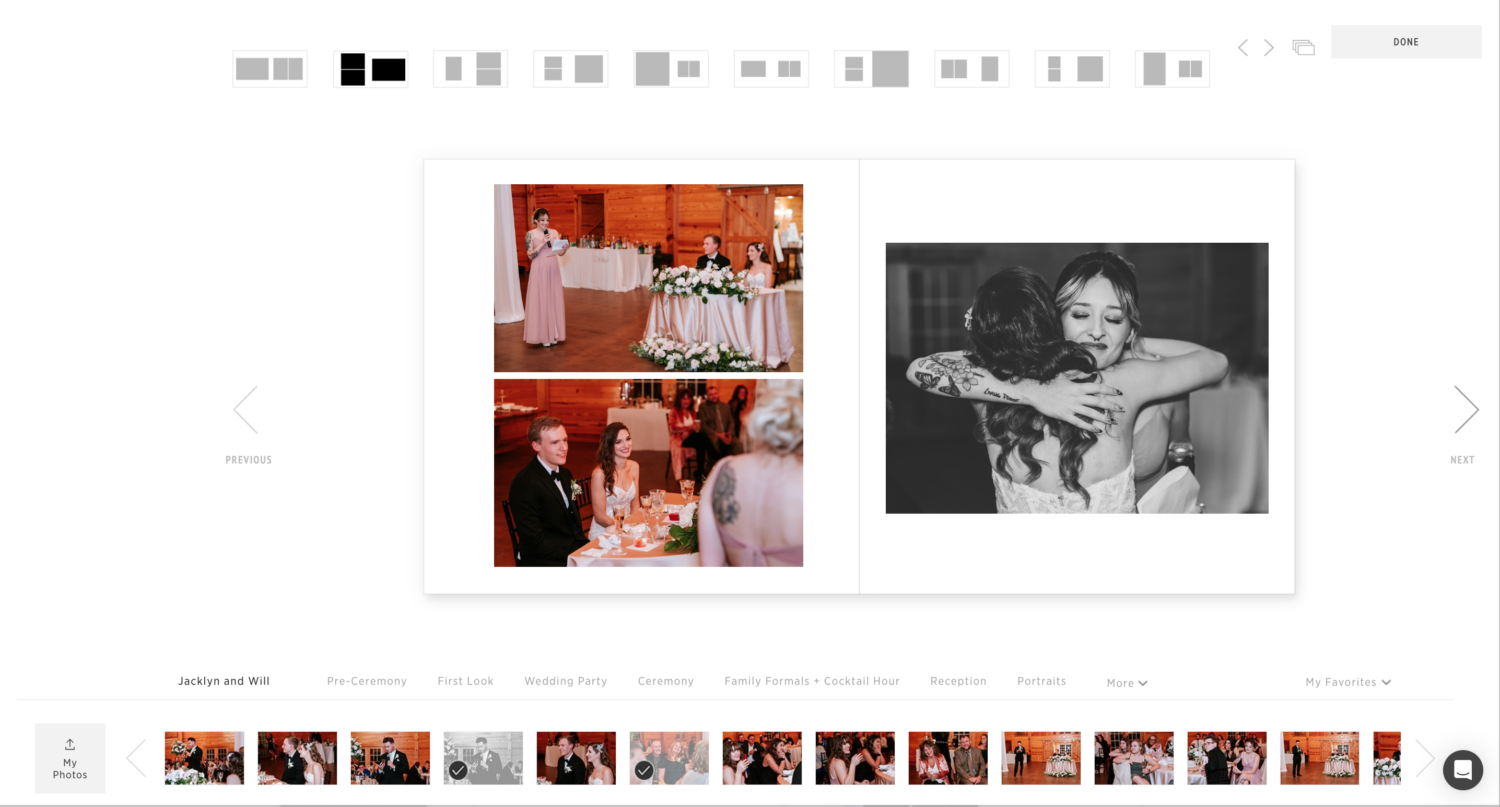
Pages 53, 54, 55, and 56: Speeches
Putting together a speech is hard work. Each speech giver deserves their own honorary spread!
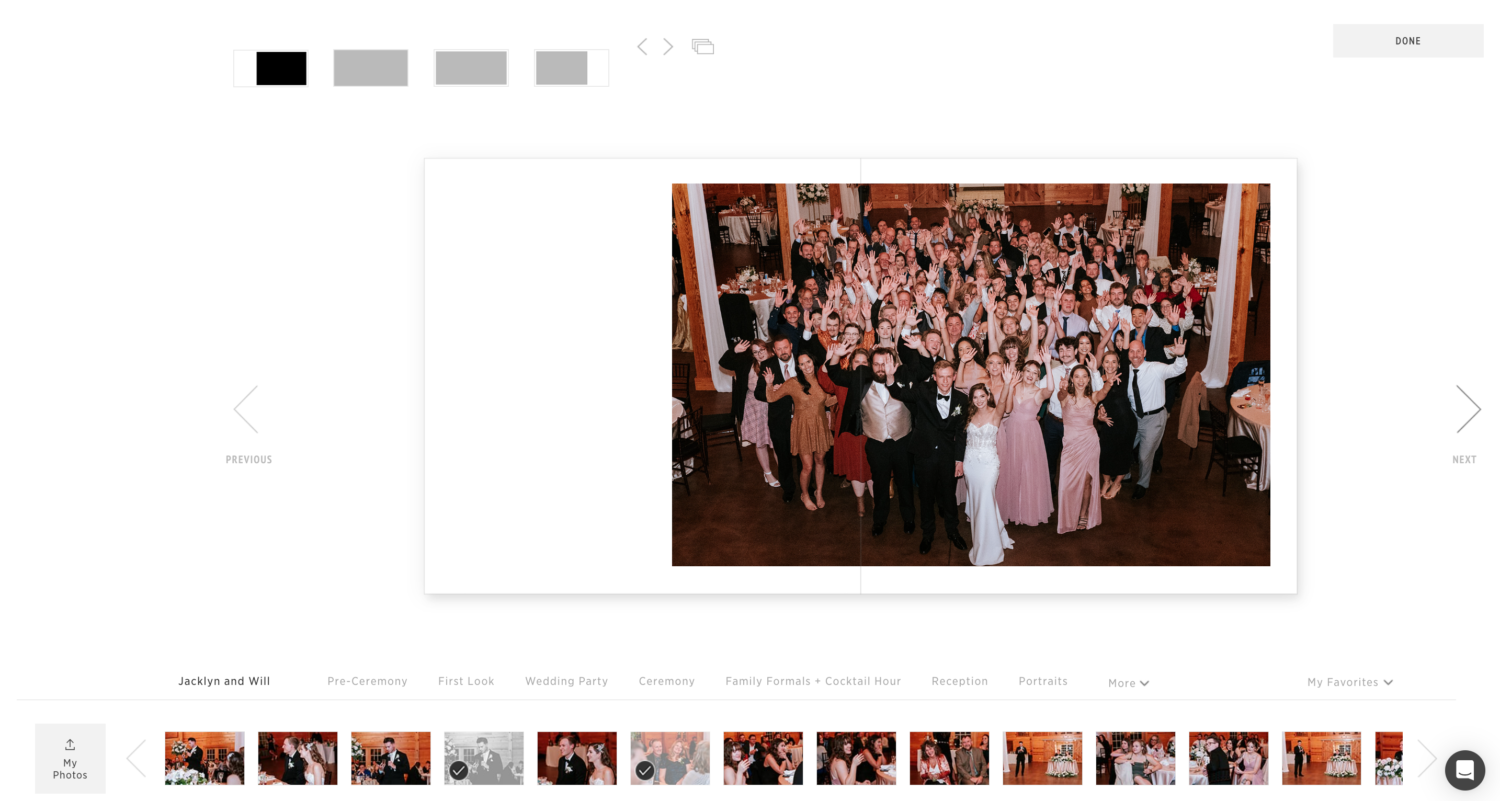
Pages 57 and 58: Group Dance Floor Photo
I allocate a separate spread for one-off photos like this big group photo on the dance floor.
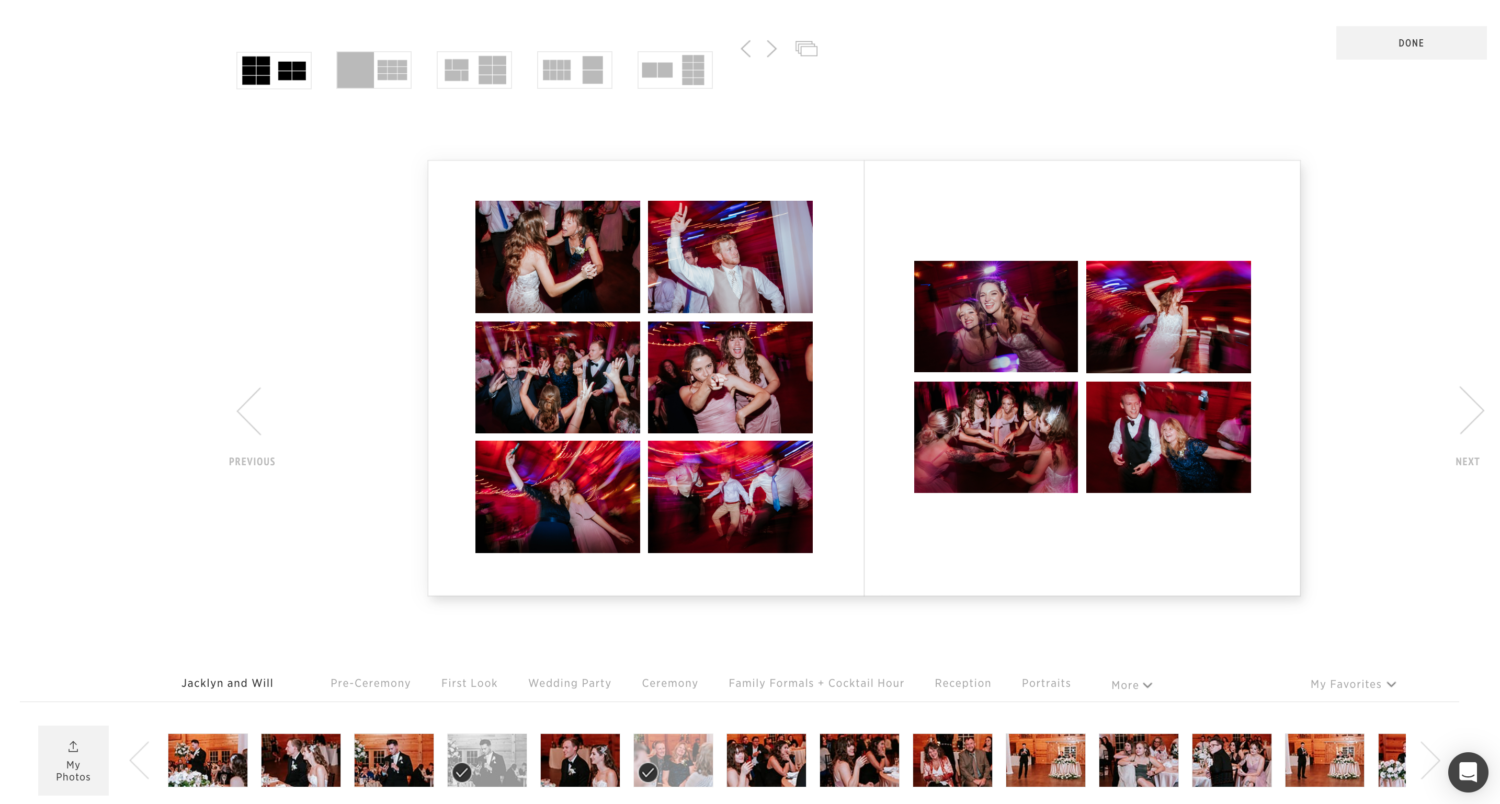
Pages 59 and 60: Party Time
Time to let loose! The party section of the day is fun and energetic so I personally enjoy adding many photos to each spread. Be sure to include a mix of friends and family.

Pages 61 and 62: Night Portraits
Night portraits aren’t a must-have. I often don’t do them since most of the couples I work with wanna enjoy this section of the day with no restrictions. This wedding day was an exception as we went out for 10 minutes to get a few fun shots.

Pages 63 and 64: Party Resumes
One last spread for the party section of the day. I offer a full spread for these dance floor images because they offer a different look and feel.
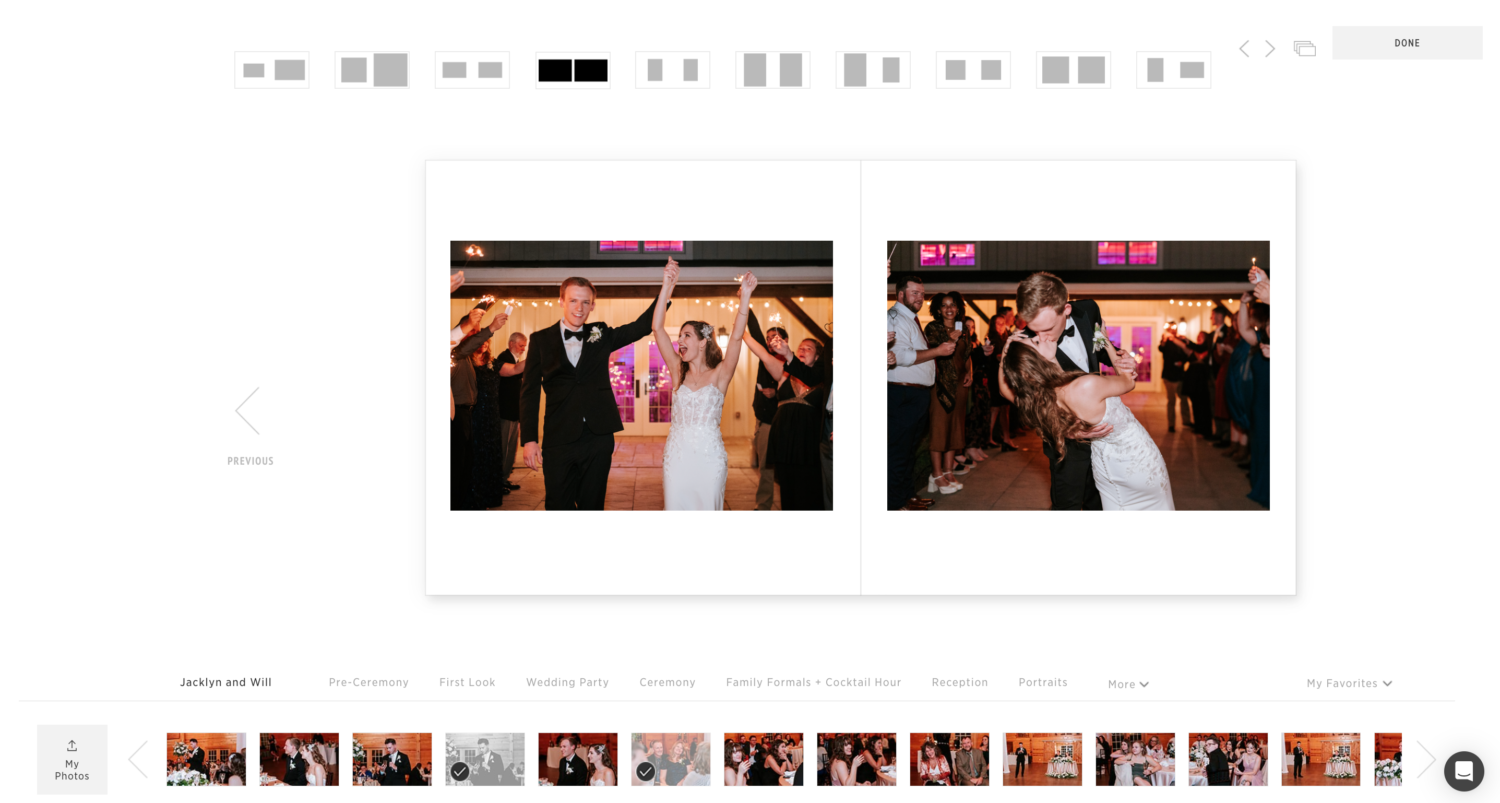
Pages 65 and 66: Sparkler Exit
The final spread goes to the final section of the wedding day which was the sparkler exit. This is always a fun way to finish the night.
Conclusion
Your wedding album is more than just a collection of photos—it’s a timeless keepsake that will bring you joy for years to come. By following these tips and putting thought and care into the creation of your album, you’ll be able to preserve the memories of your special day in a way that is truly unforgettable.
Have fun album-making!